
DIY hardwood drafting (drawing) table
Say no to a sore back and neck. Get a table that can go up on an angle, helping fix perspective issues and letting your back and neck sit at a more natural straightness.
This project came about because I couldn't find a drafting table that was what I wanted. They were either too ugly (made of plastic) or they were massive (German style drafting tables) or they were both.
Most drafting/drawing tables are designed only for that purpose which in my opinion doesn't fit in with the modern lifestyle. I want a desk that is for drawing, painting, surfing the web and playing games. In other words it needed to support being able to be tilted to an angle without having to remove the computer screens.
My old man offered to build one for me; I just needed to provide him with measurements and the design.
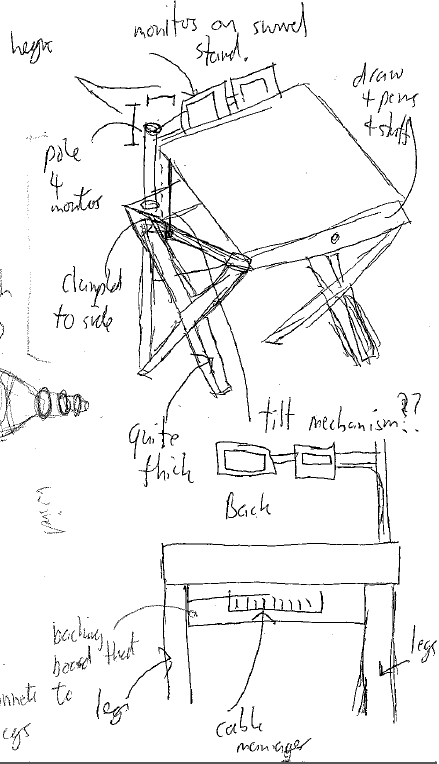
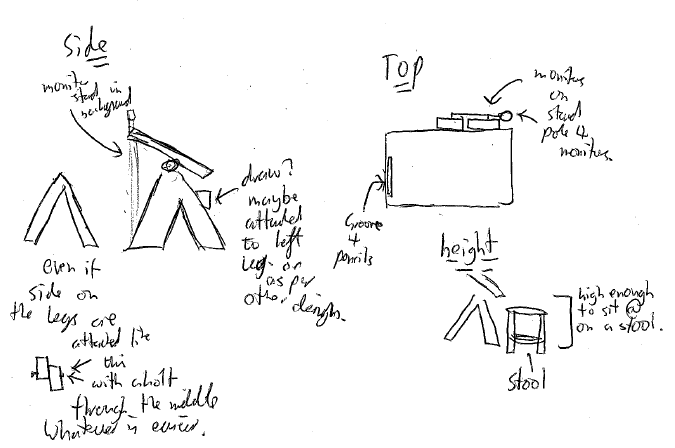
Below is the initial design I came up with. I loved the upside down V style legs. I also had the thought of having a pole go through the table to provide support for monitor stands (this idea would later be scrapped due to how strong the table wood was).
The monitors would hang over the table, not actually touching the titling table. I could just push the monitors out of the way, pull the table up and then pull the monitors to the required position.
Some various back and forth and we were set. The old man set out to find the right wood. My requirement was that it was preloved. I didn't want to be even remotely responsible for the felling of old growth forests so I decided this was a better solution, although more work for my poor old dad.
We were very lucky to be able to source some Tallow wood a species of Eucalypt that grows between the NSW and QLD border of Australia. A beautiful old hardwood.
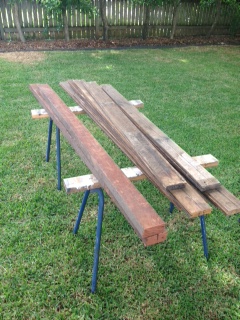
I wanted big thick legs to support a tough as nails table. Below is the legs and as you can see they are pretty thick.
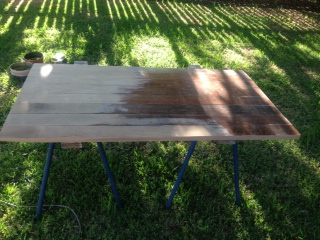
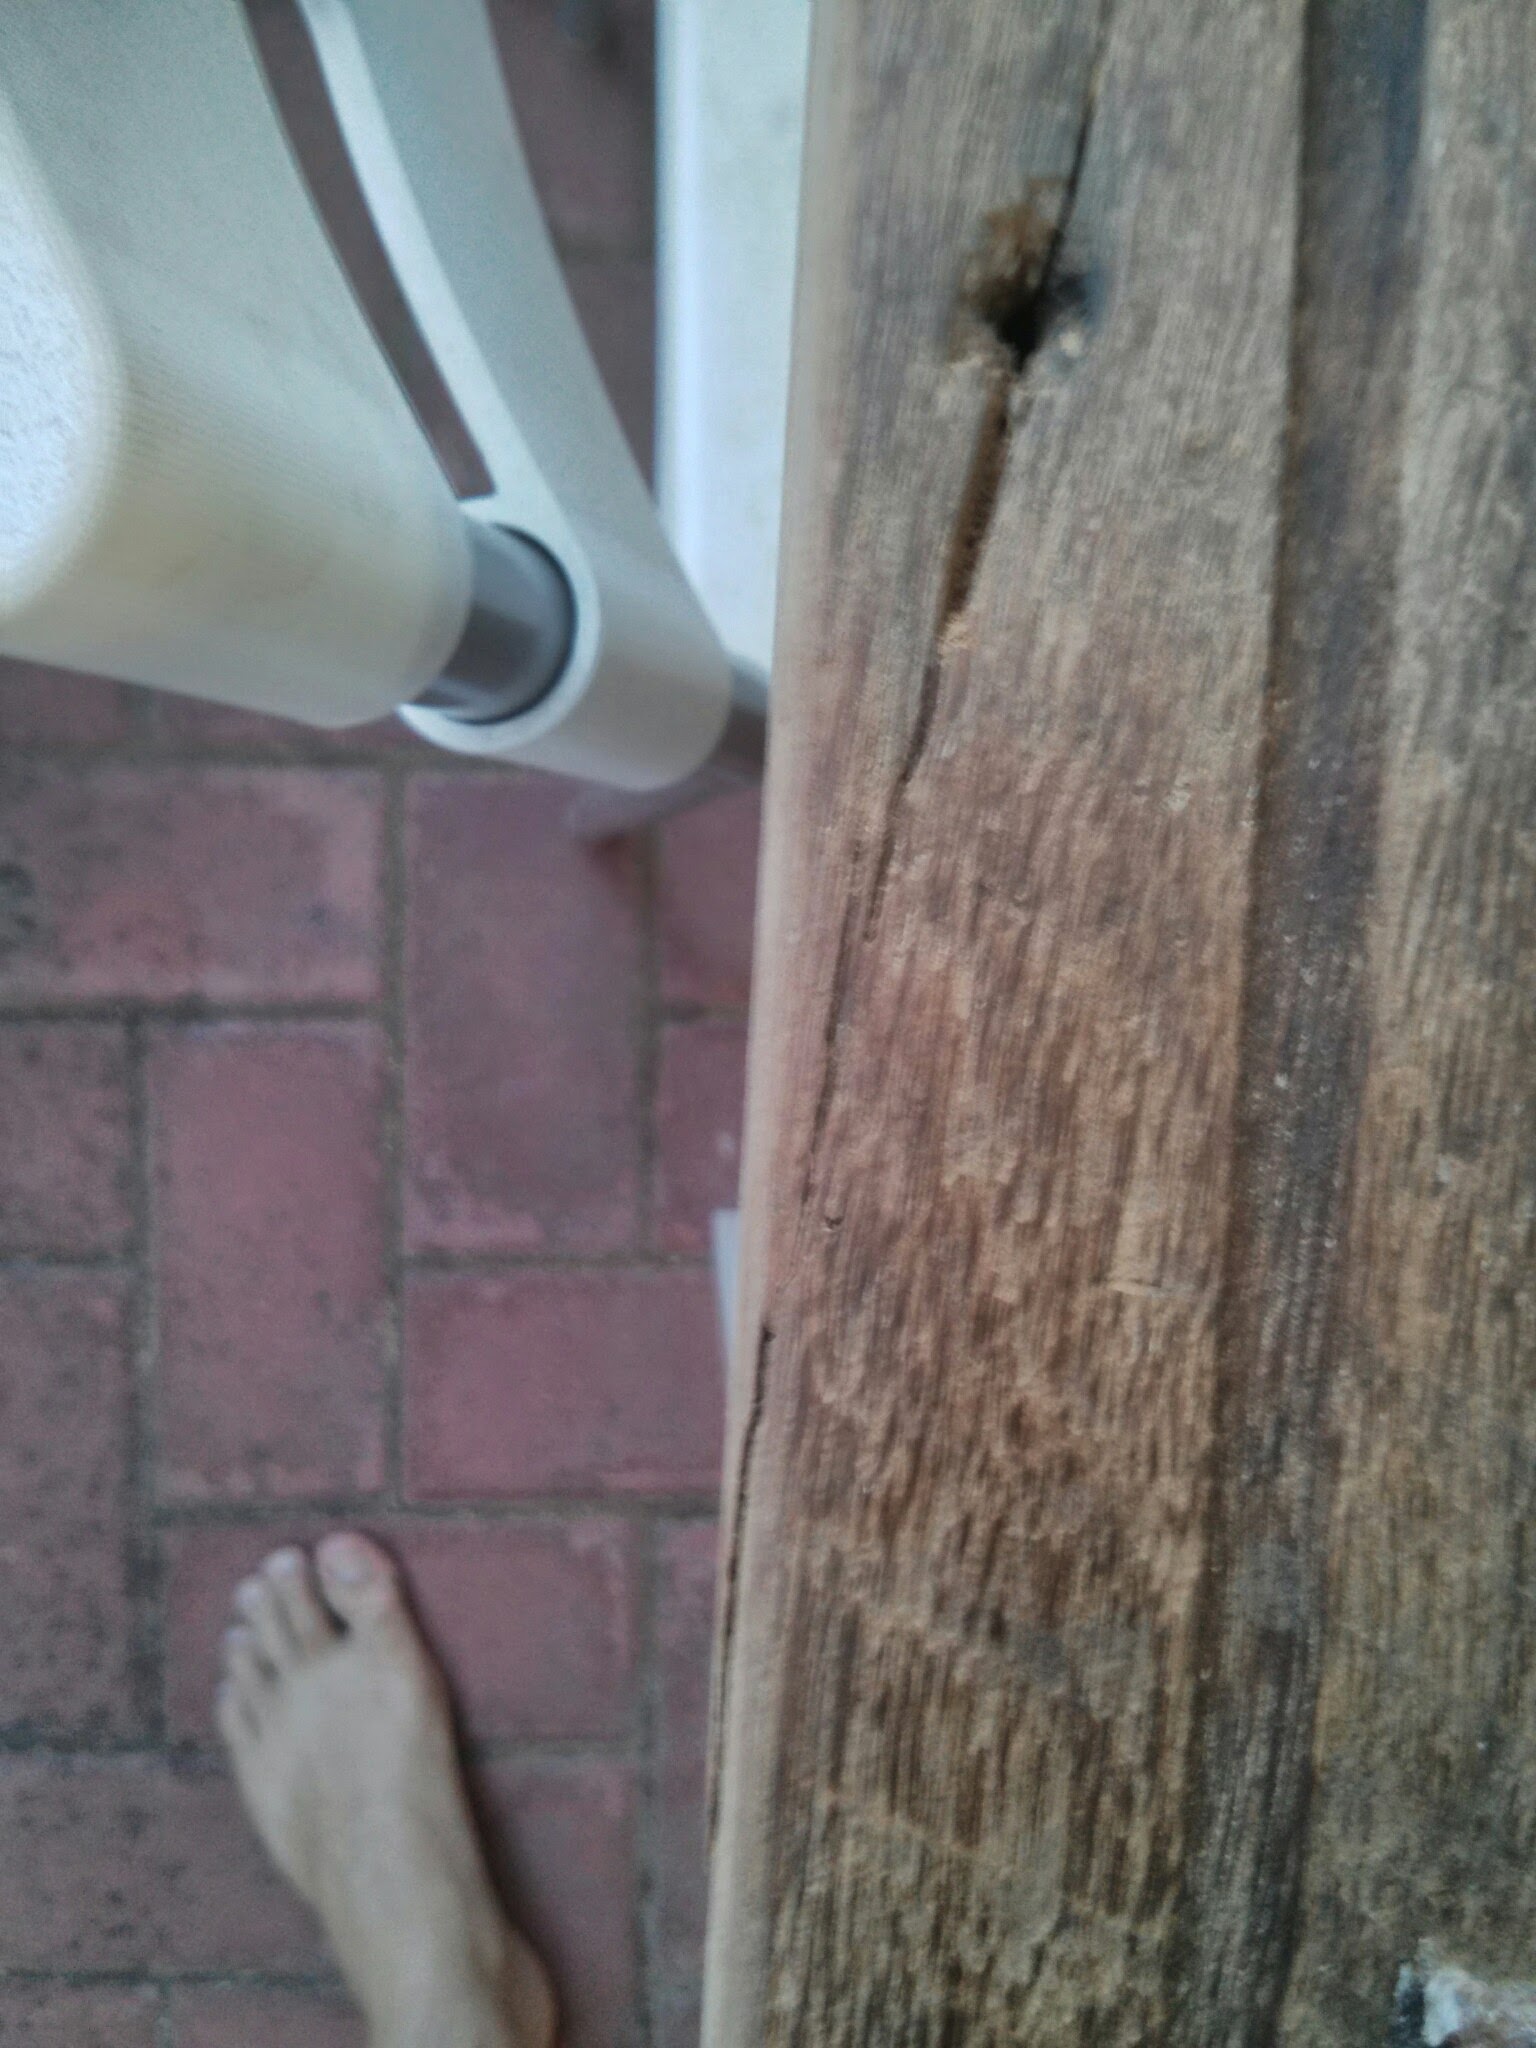
The tabletop itself was sourced from an old hall, once used as a basketball court! On the right of the picture you will notice the original varnish, while on the left is it sanded back. The wood is estimated to be around 40+ years old. Is a great feeling to be able to reuse old wood, espically one that has a story like this.
After the old man weaved his Gypsy magic we ended up with the below.
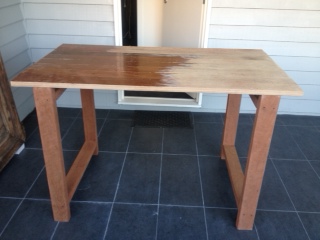
Unfortunately a crossbar had to be added to stop it wobbling side-to-side. Would have preferred not to have it but hey wishing it so doesn't make gravity go away.

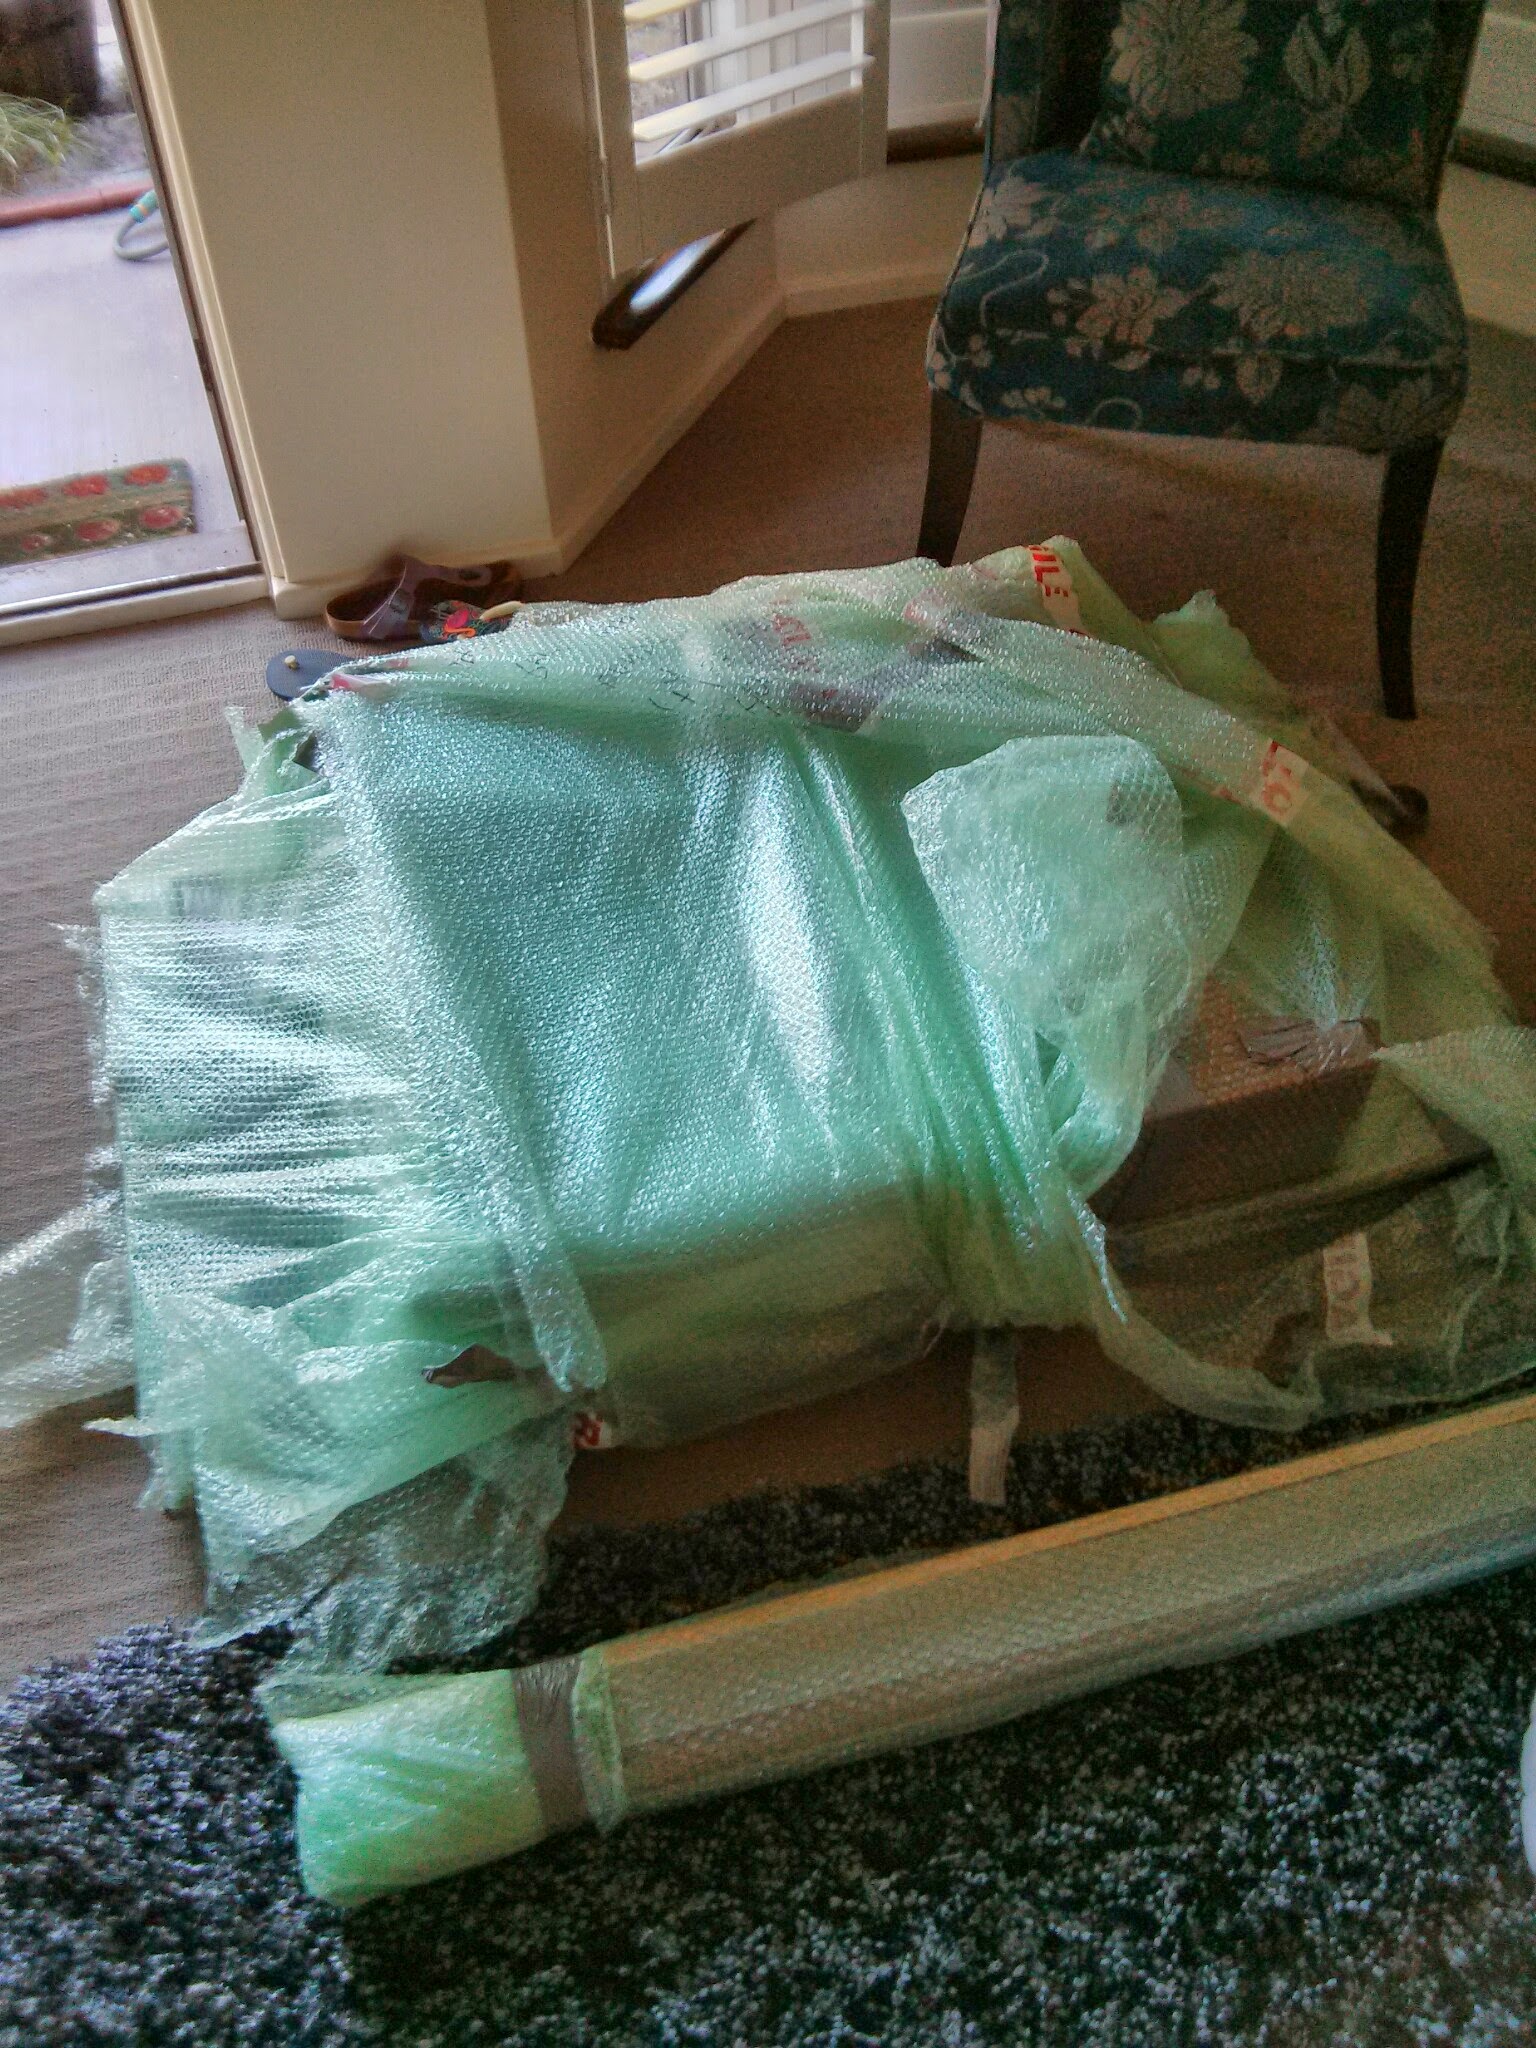
A week later a 70kg+ package arrived on the back of a train travelling all the way from Queensland to Perth.
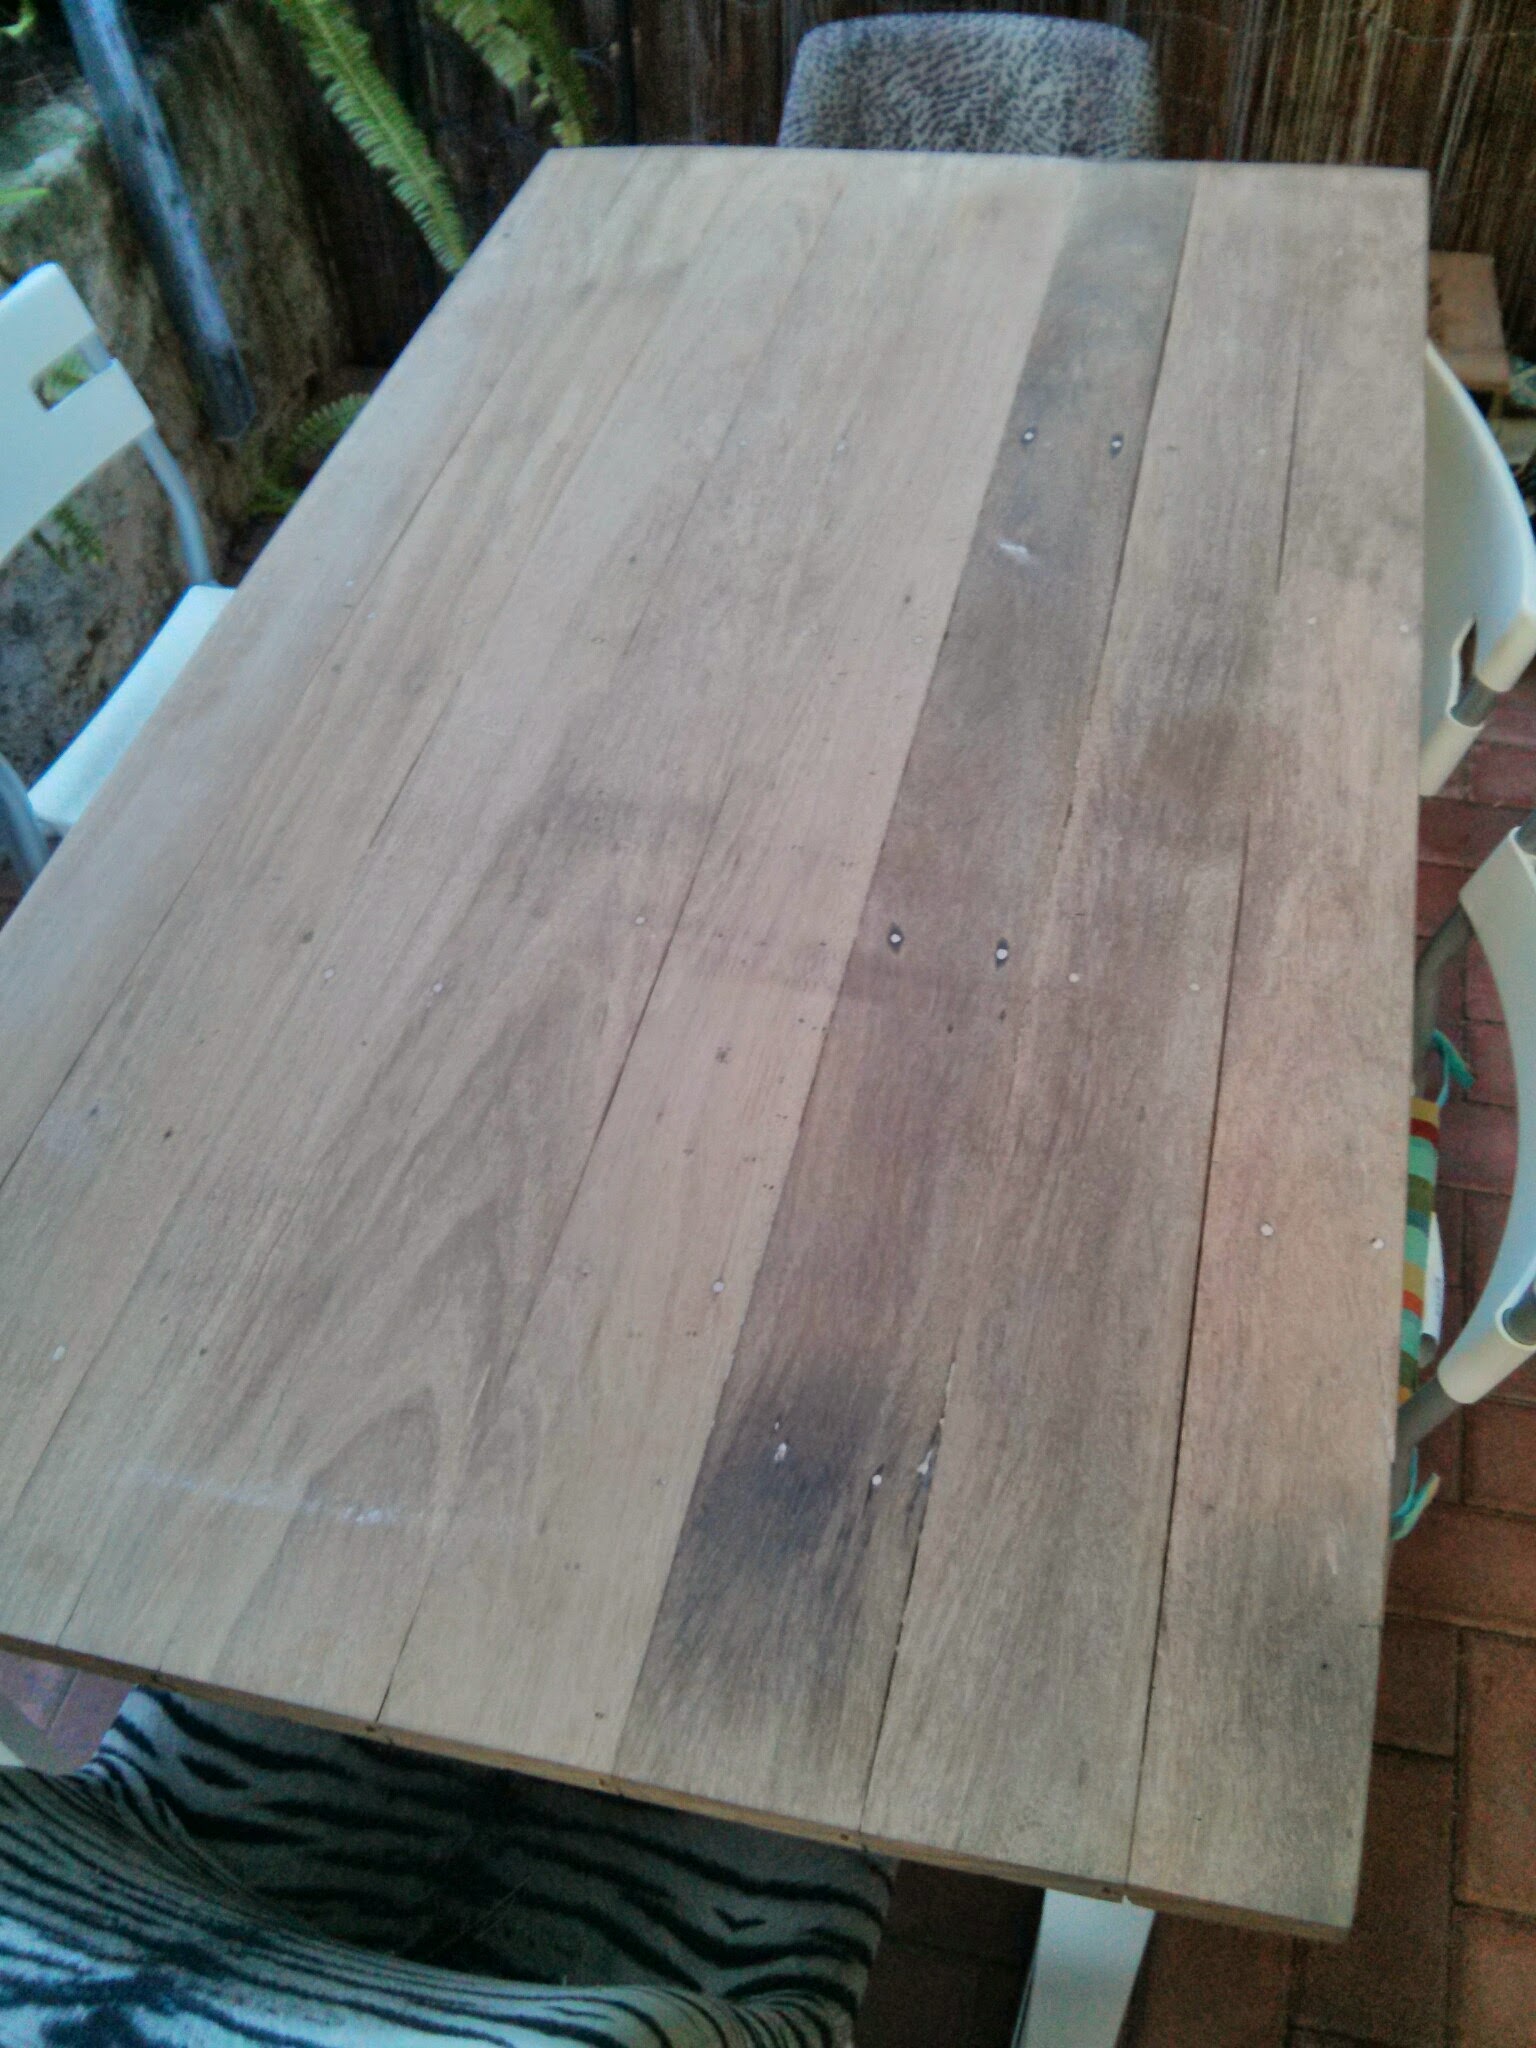
The tabletop was sanded by the old man with a floor sander. This is the old basketball court.
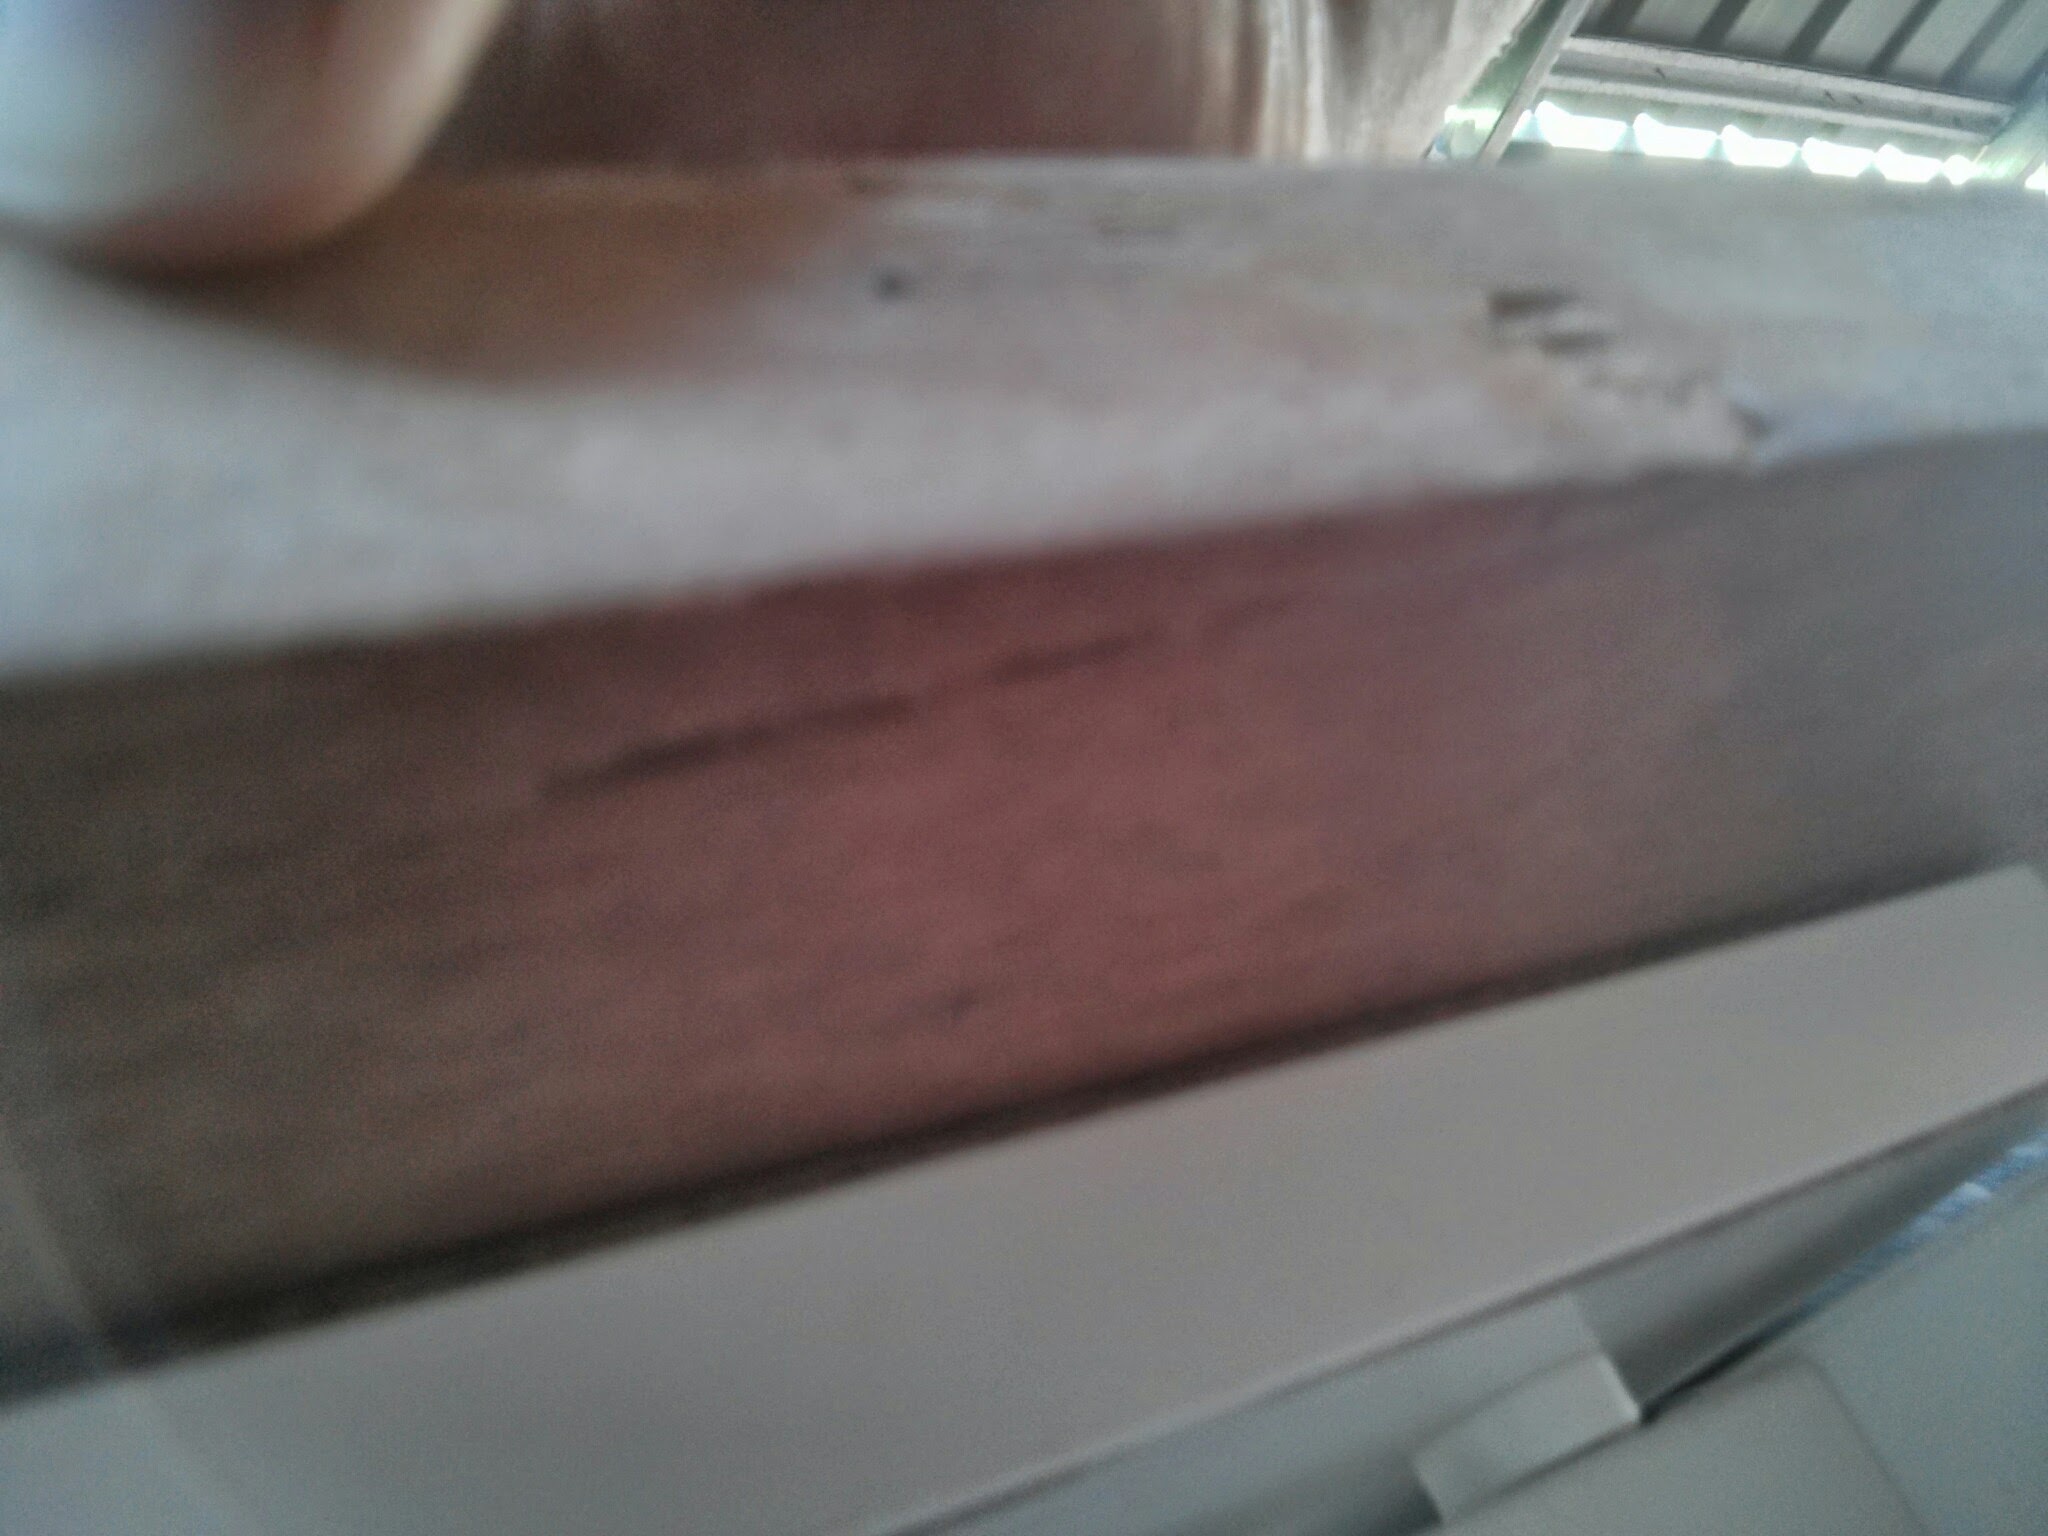
Was bummed when I found this crack but nothing 3 applications of wood glue and some sandpaper couldn't fix
Sanded the crack back some more after this pic and now I have trouble finding it. A good problem to have.
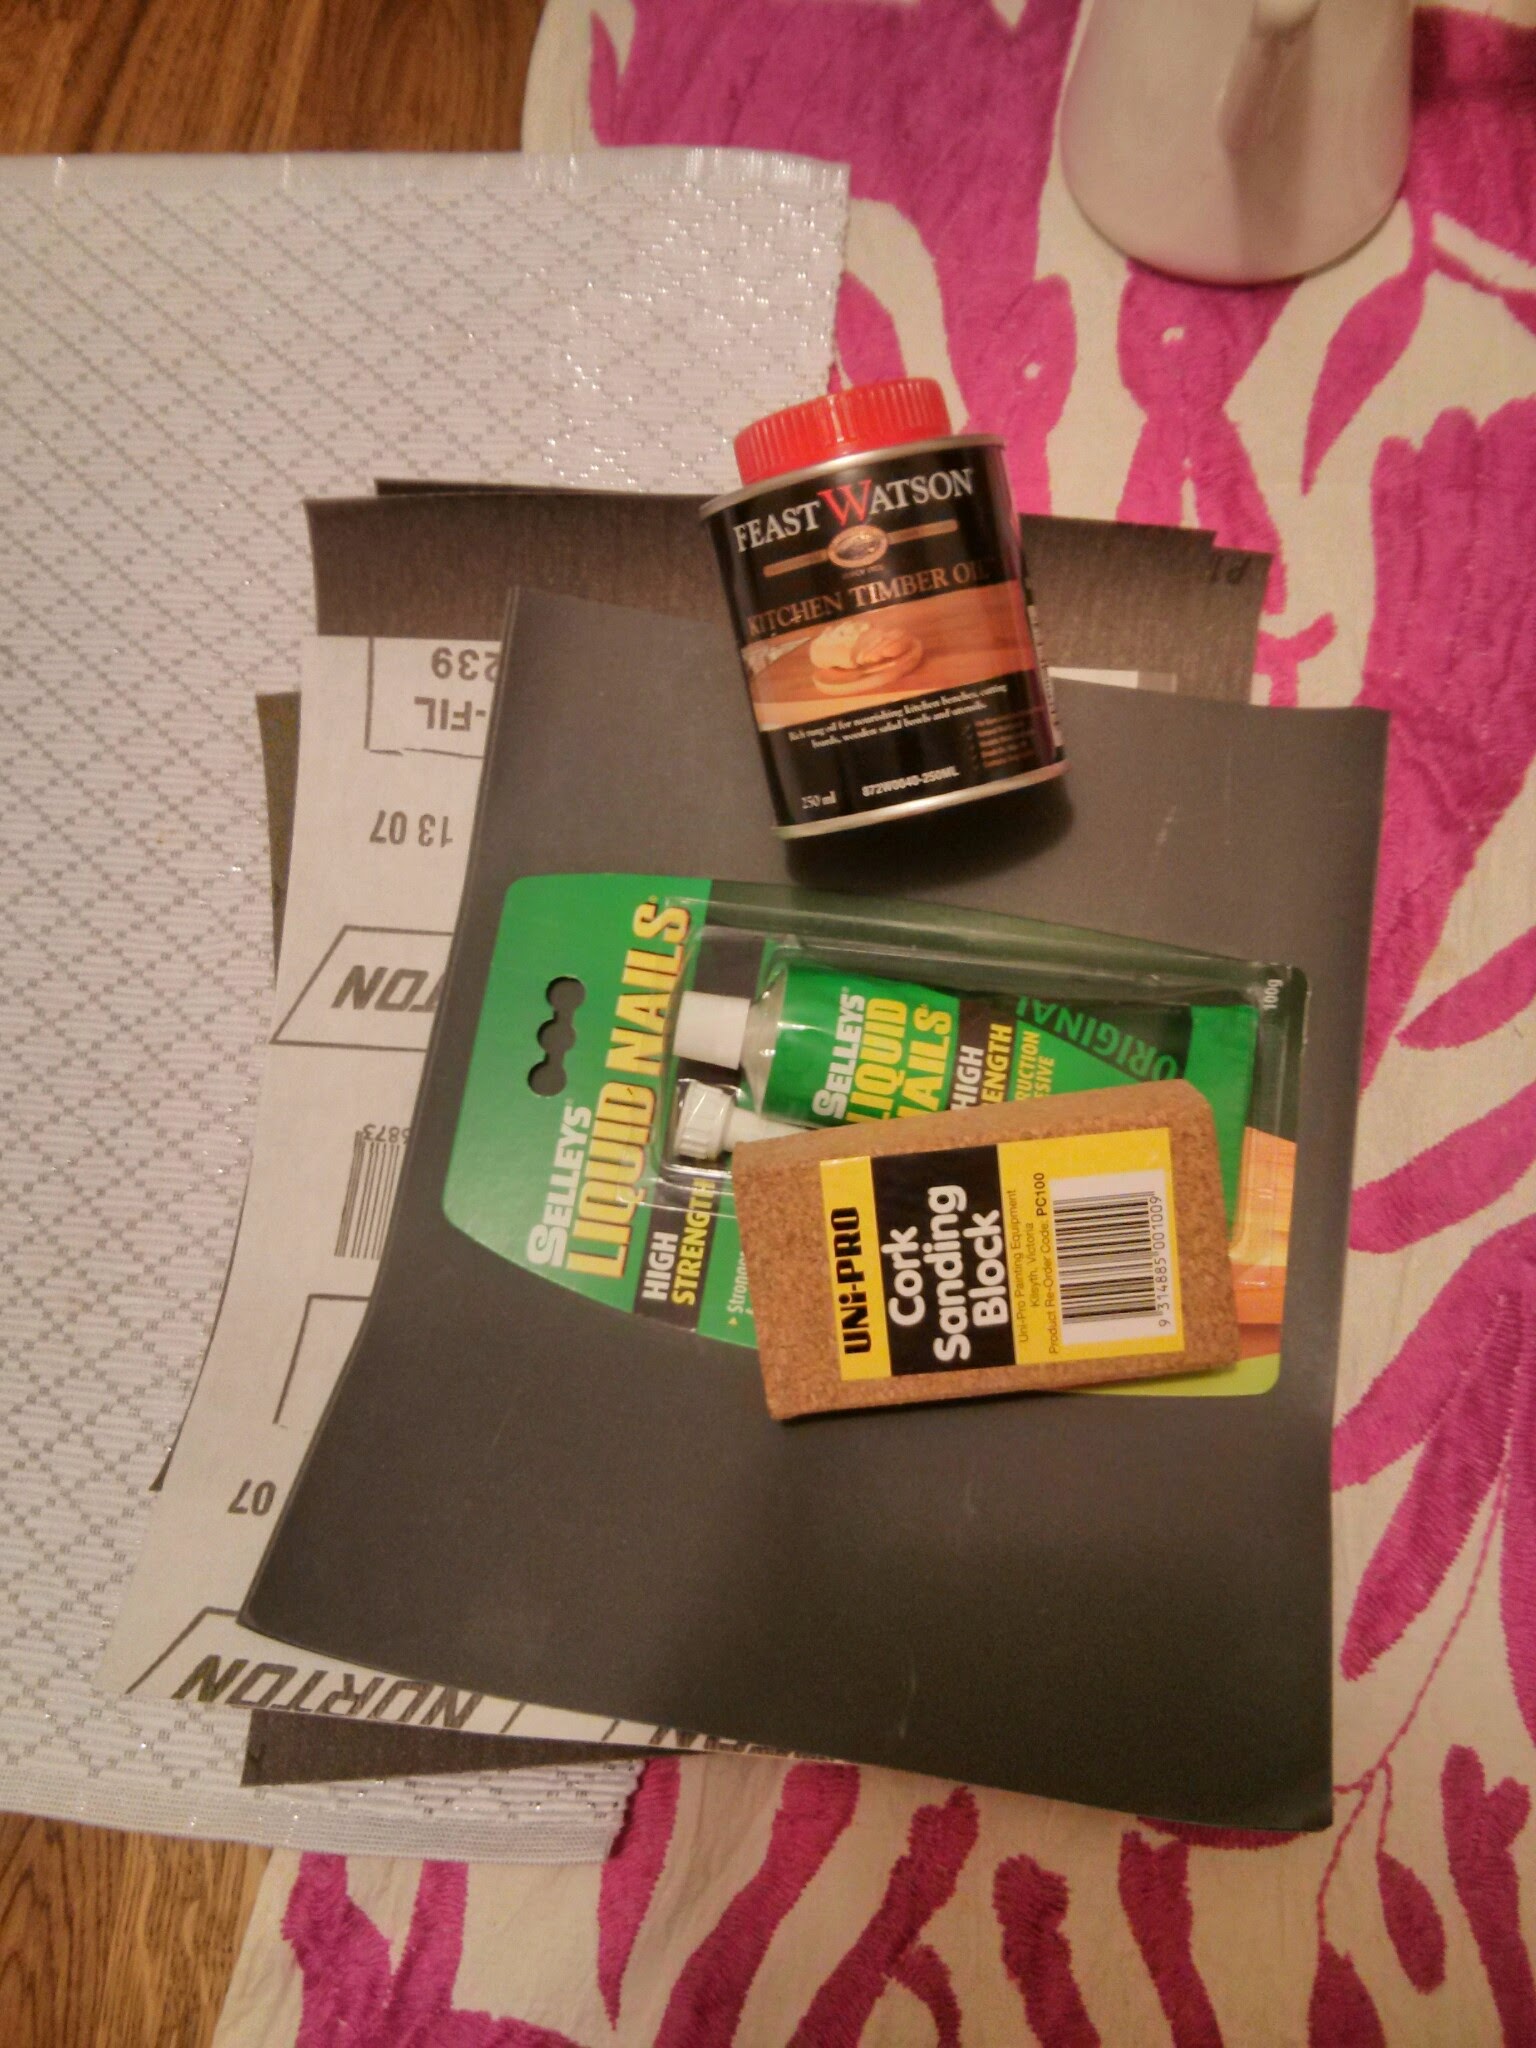
I read up about different oils and would highly recommend the Kitchen Timber Oil from Feast Watson. Great little Aussie company who make some really high quality oils. If you have a nice piece you are doing up it is worth spending the little bit extra.
Liquid nails will be used on the legs to ensure they don't wobble around.
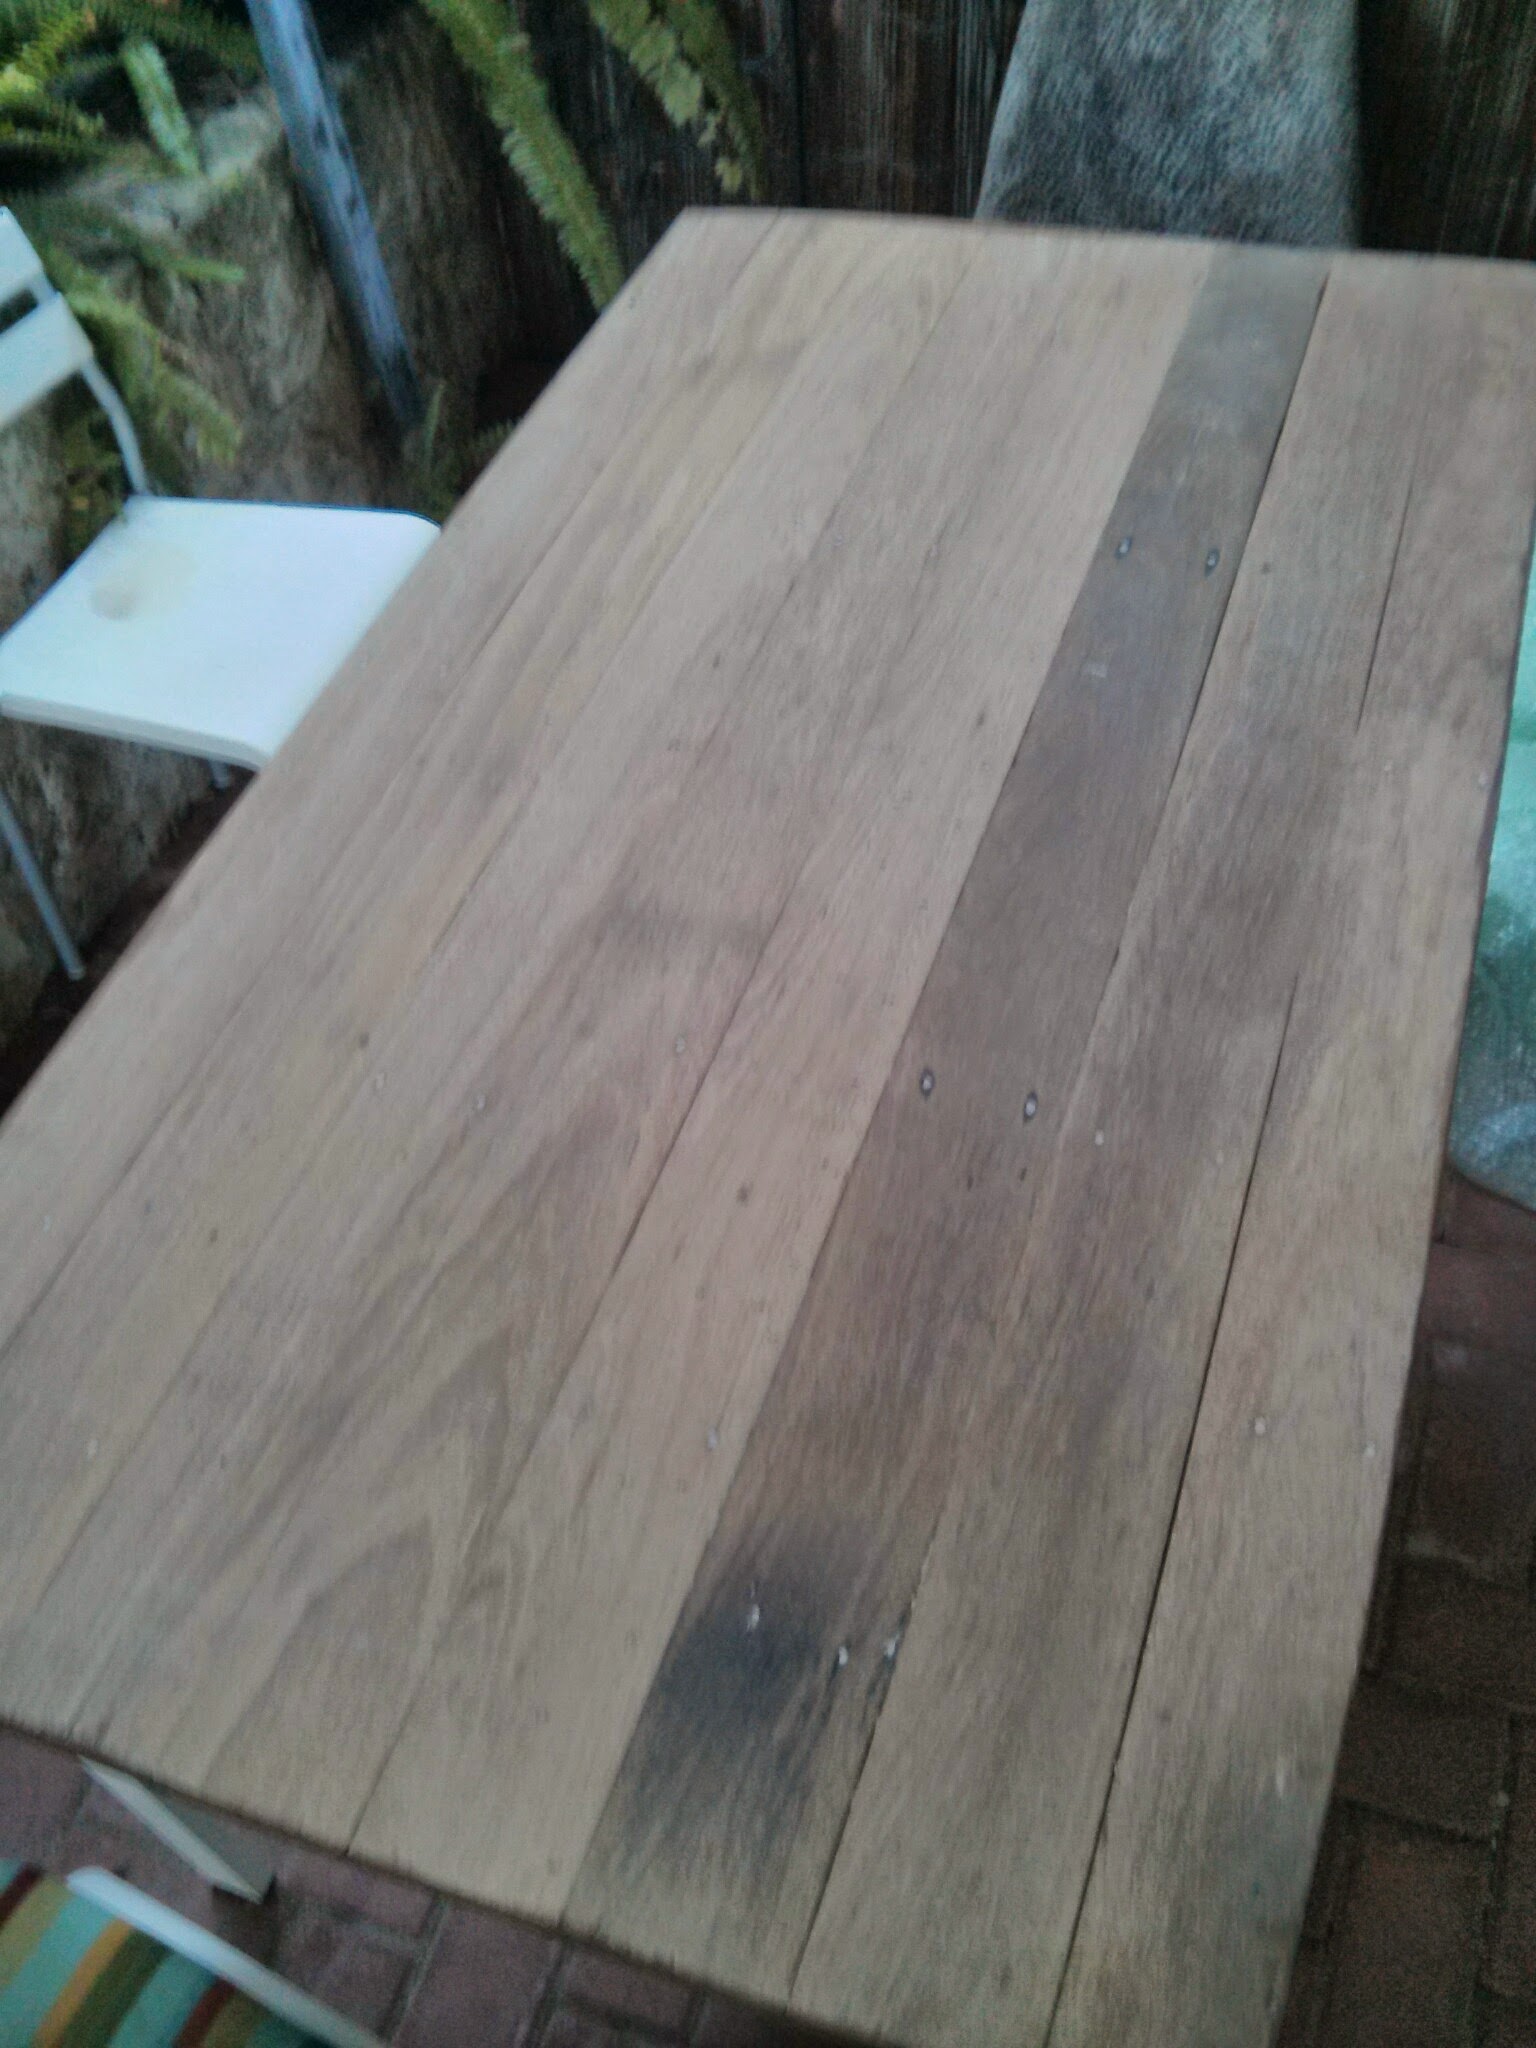
First to be sanded was the top. Started off with 200 or so sandpaper working my way up to 800+. If only the pics could convey how smooth it is. Oh and use a sanding block it will save you fair amount of grief down the line as using just your hands tends to put uneven pressure on the wood, resulting in a bumpy sand.
For some reason my old man decided against running the floor sander against the bottom of the table "what ya need the underside sanded for" were his remarks when I questioned his decision. Spent a fair few hours hand sanding this bugger back. Even now it is still pretty rough but not as rough as guts as it once was. 40+ years underneath the floor in the dank and dark will make any wood pretty rough.
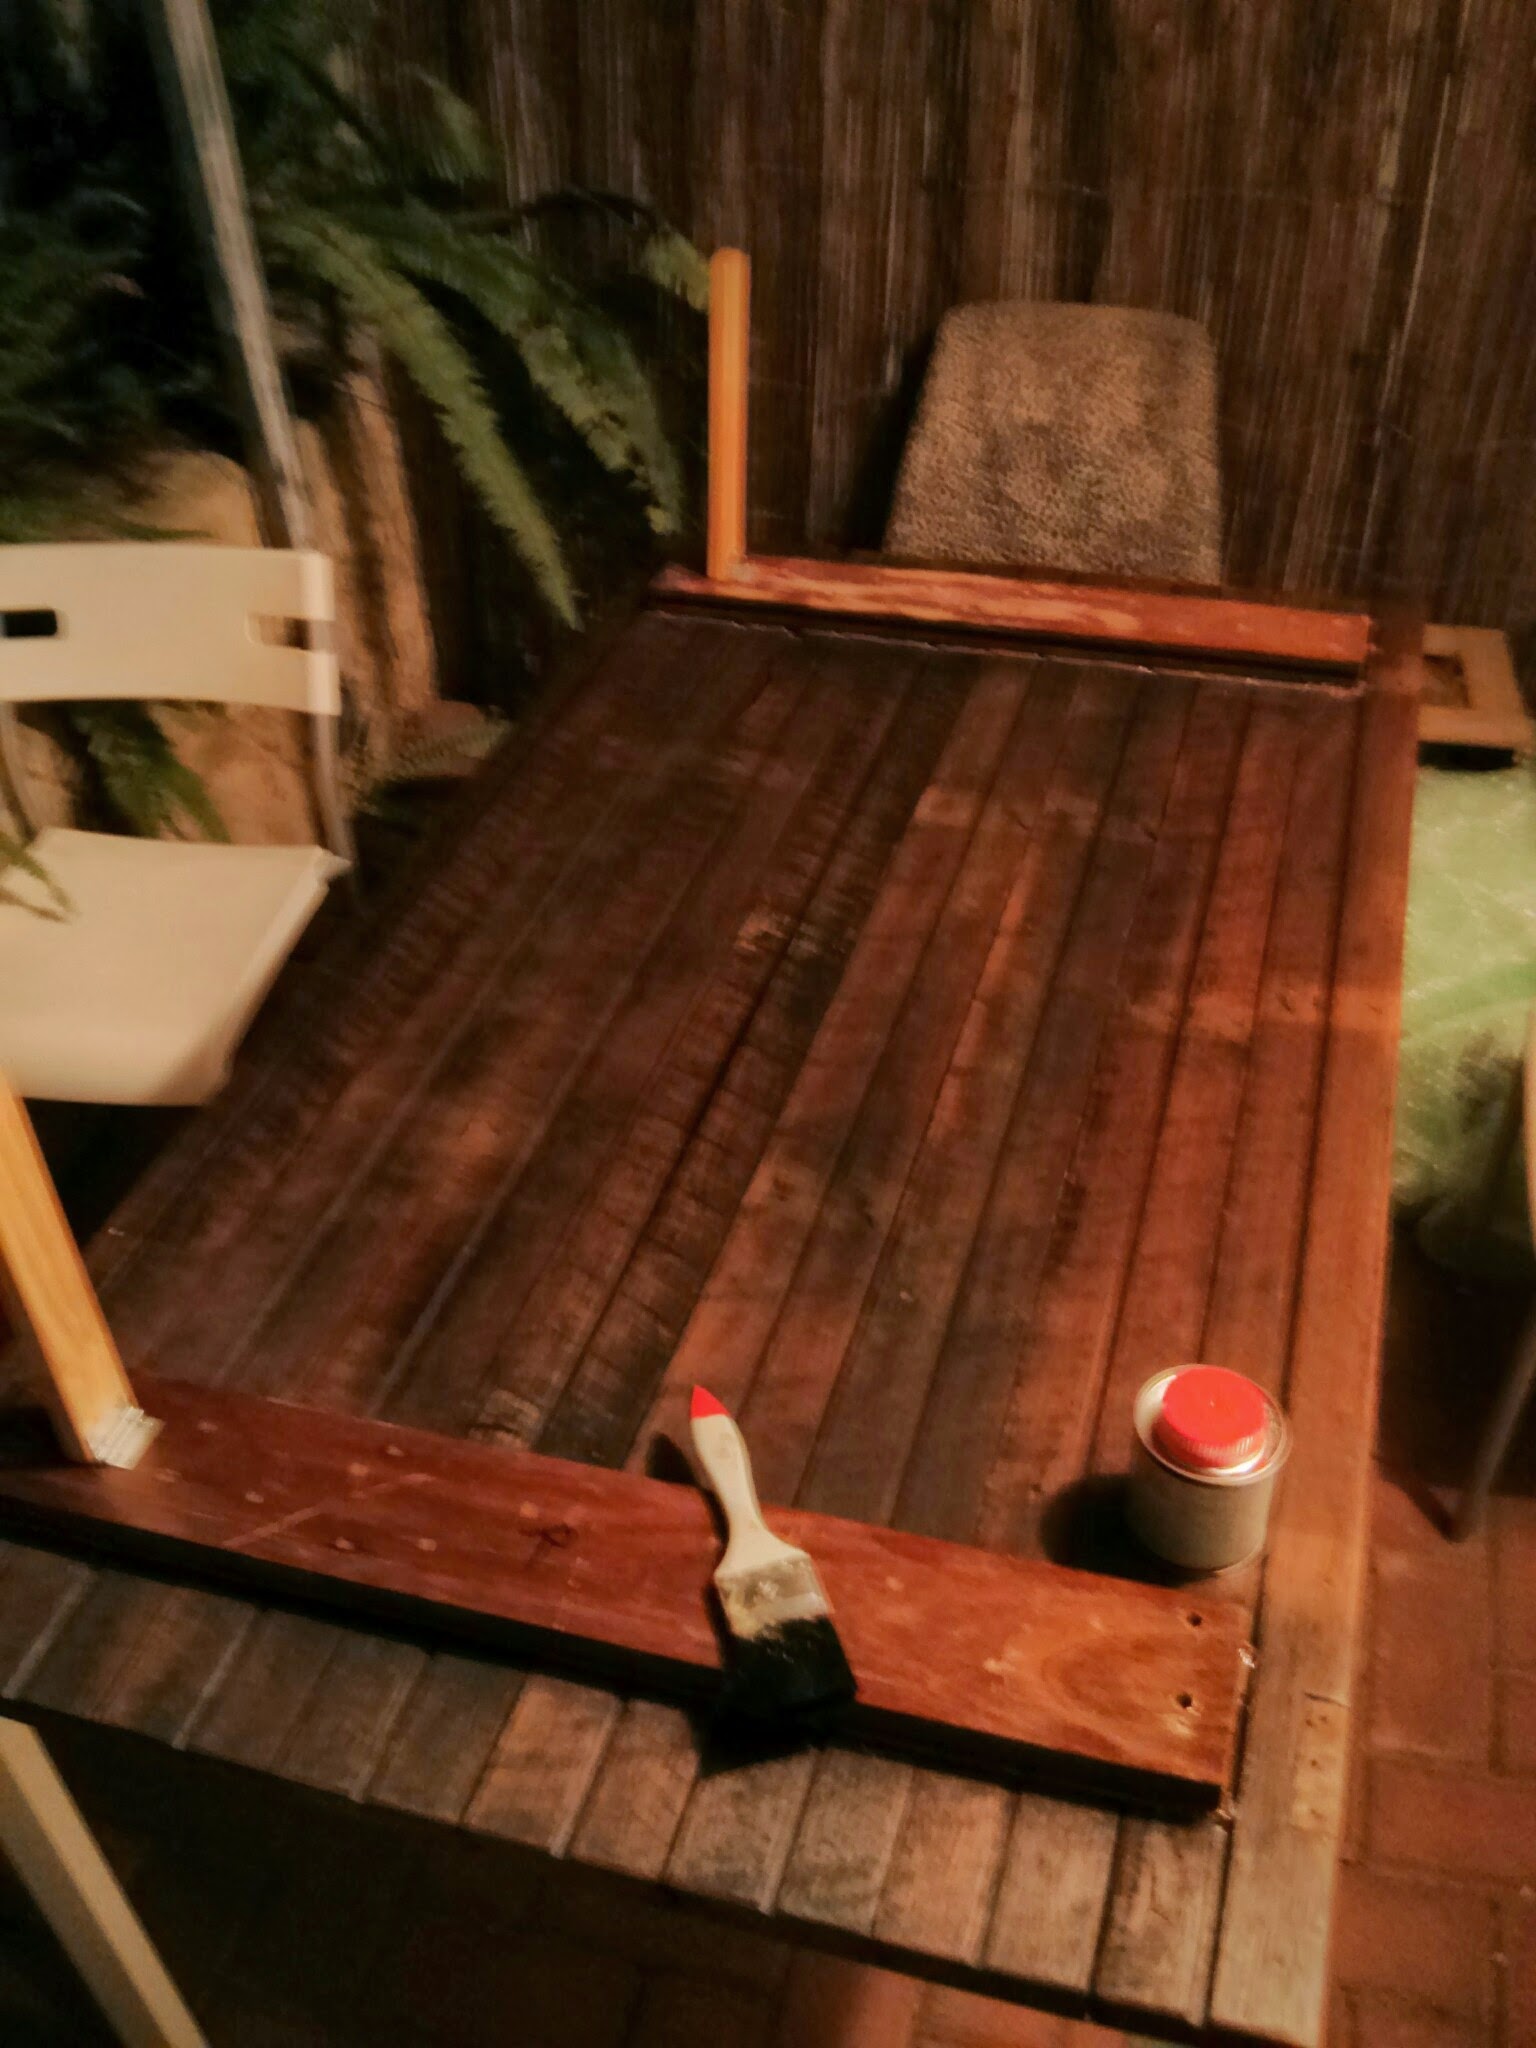
Then it was time to oil it up. Started with the back in case I didn't like the colour. Thankfully i loved it, it brought out the grain in a really nice revealing way. Bugger lacquers oils are the best. The feeling of oiled wood IMO trumps a glossy lacquer any day.
This picture also shows off what the wood would have looked like in its previous life. The large wood beams running perpendicular to the top is what all the wood would have been like in the community centre. The old man said it had a fair few layers of lacquer on it. Also you will notice the pine poles, these will be used to keep the table in the upright position.

The bottom completely oiled.
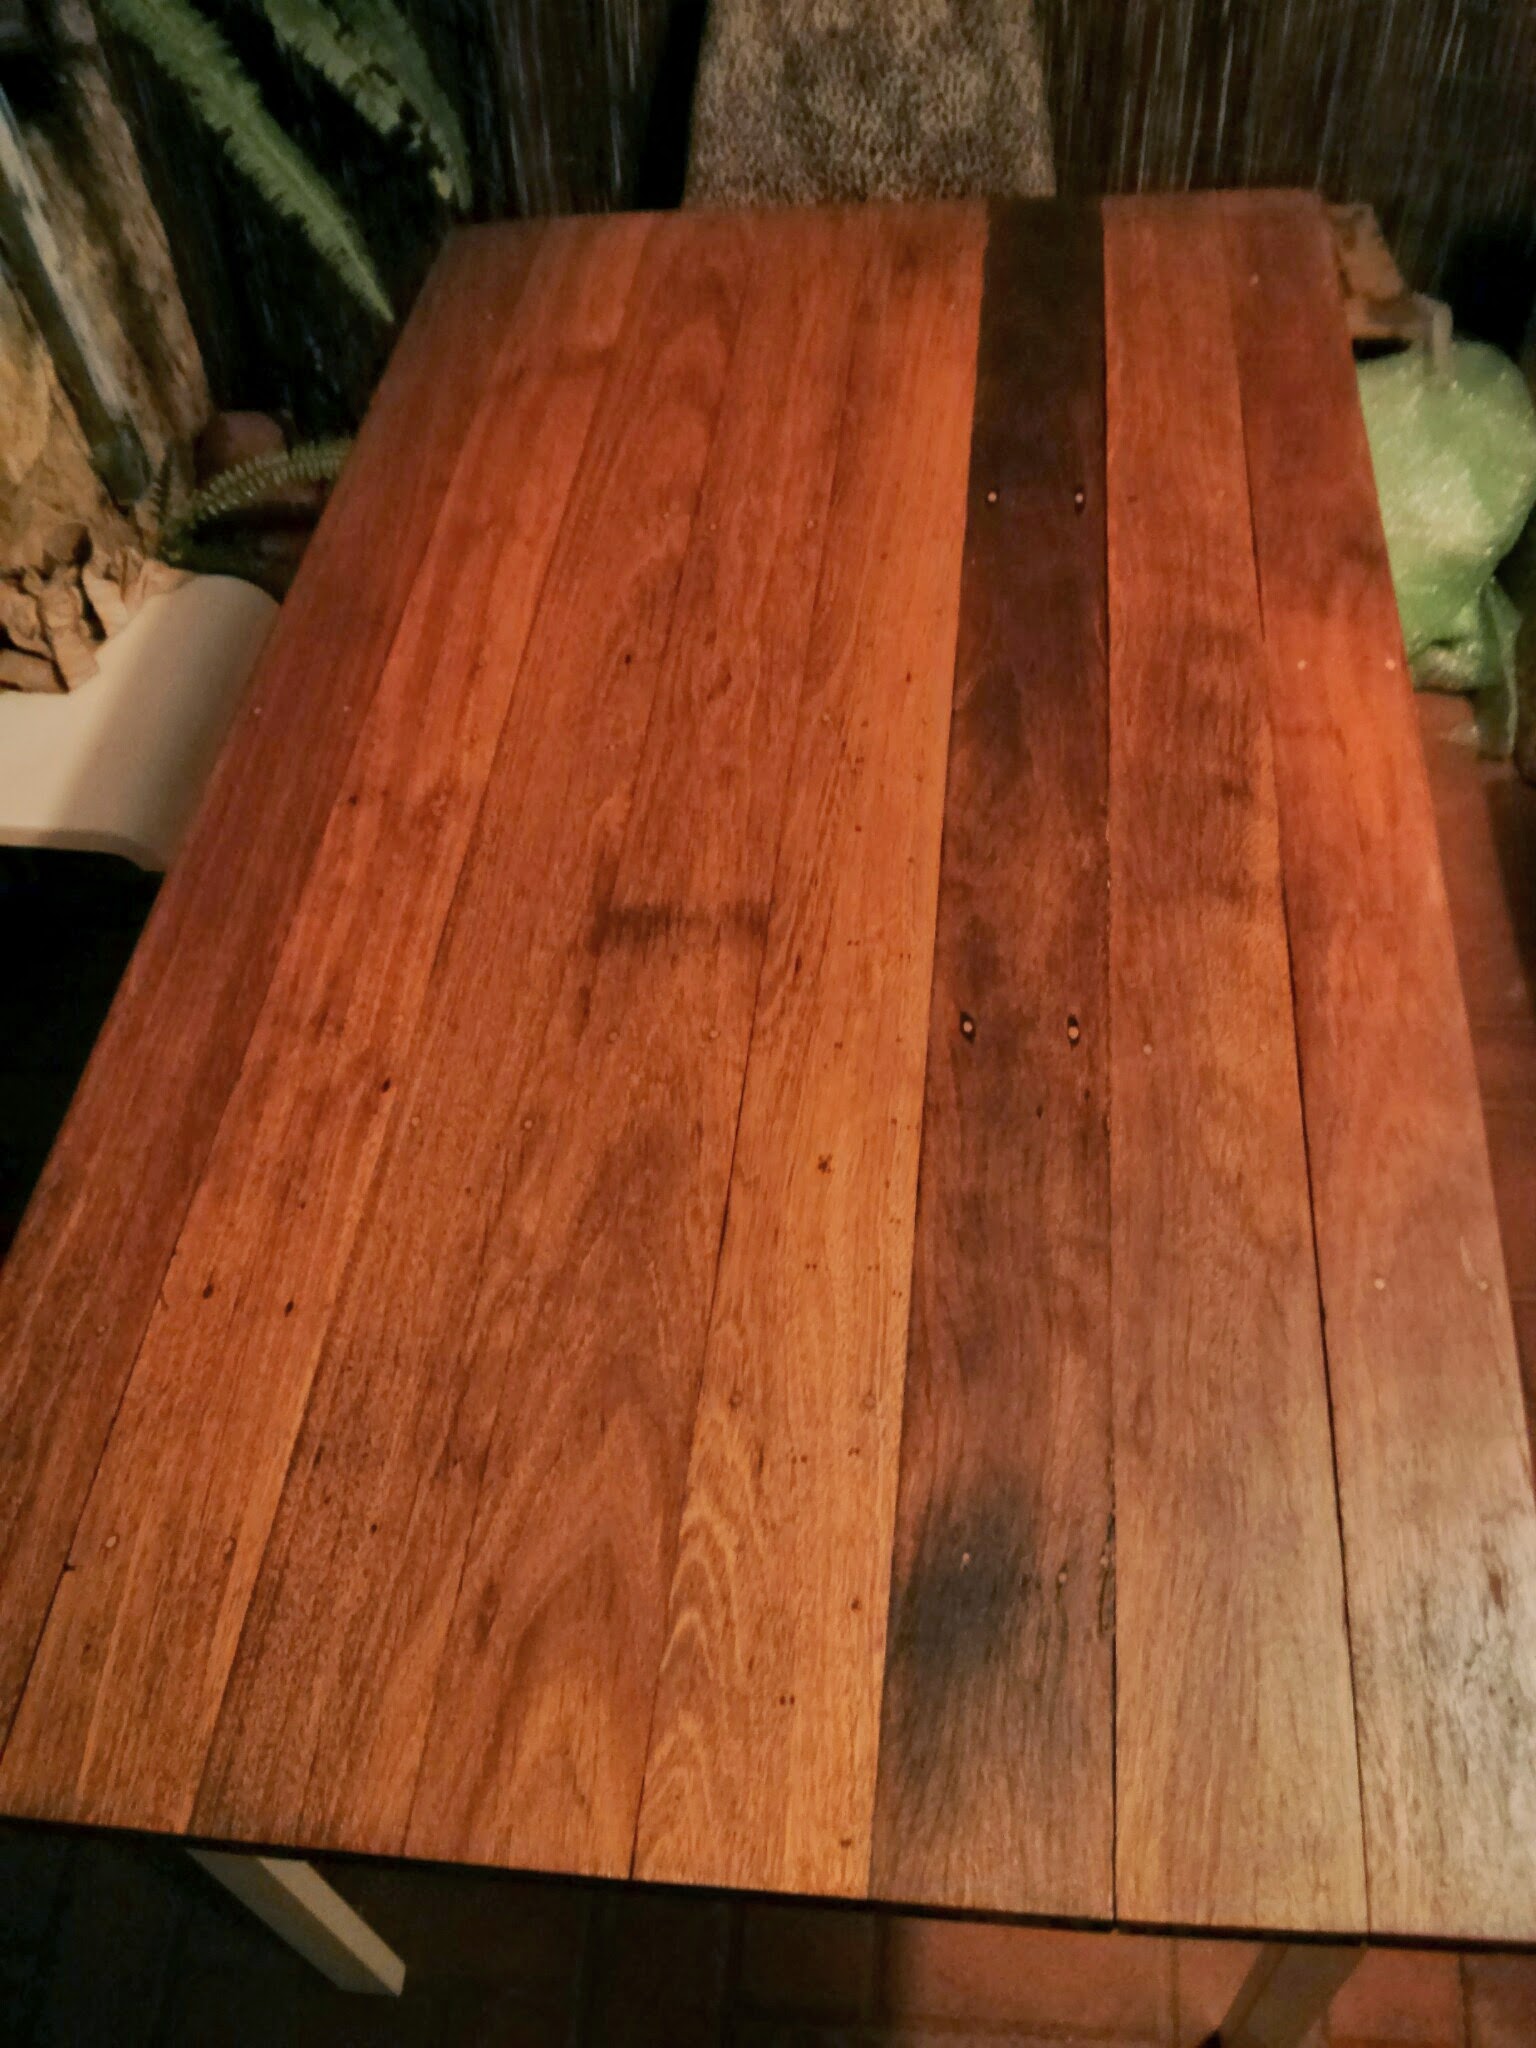
The top completely oiled. Not as red in real life but you can see how it brought out the grains.
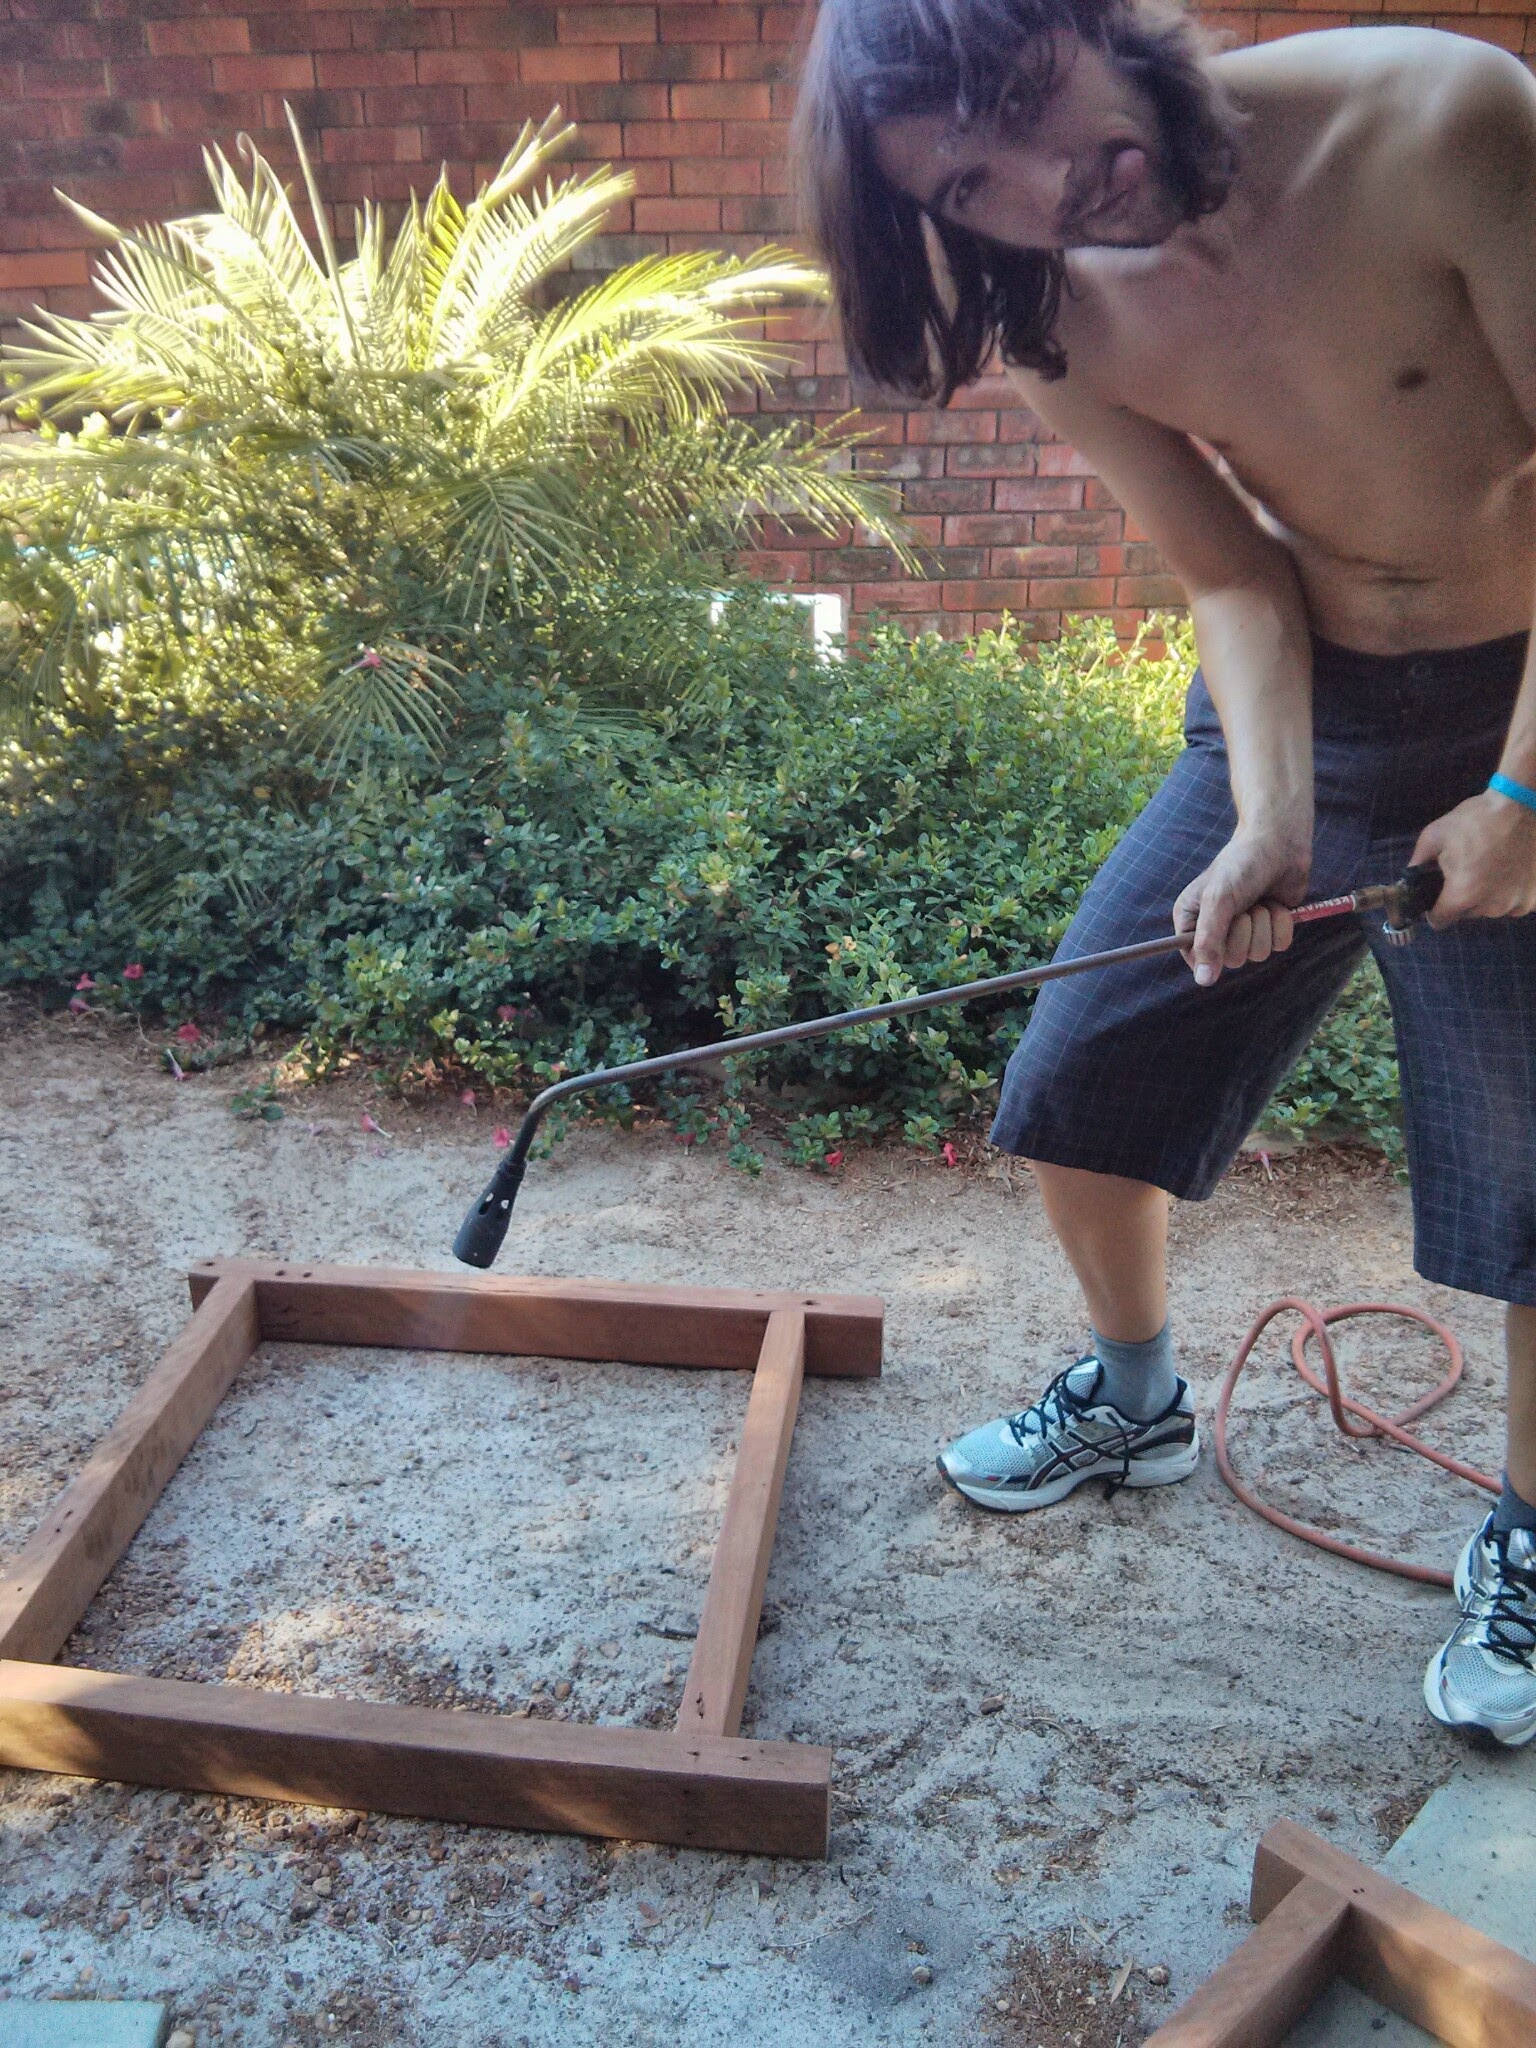
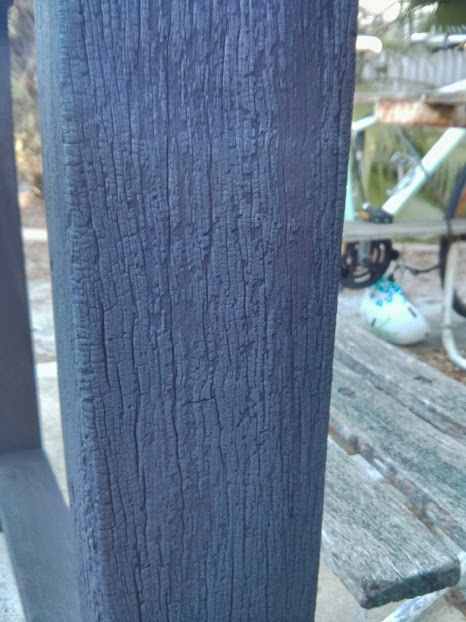
Next I had to decide what I was going to do with the legs. After a lot of googling I came across an effect called Shou Sugi Ban which is a burnt wood effect used on buildings in Japan. The effect involves burning the outer layers of wooden cladding, with some hardwoods able to survive up to 80 years in the elements. That is nearly the average life expectancy of an Aussie, but without any lacquers or any paint, just exposed out in the sun and rain. Pretty Amazing. For more info check out the following Youtube vid.
Luckily I didn't have that problem but it did take me hours to get any effect on the wood. Tallowwood as I found is so bloody hard (tough) that it just turns black, doesn't get any of the cracking affect I was hoping for unless you go over it time and again.
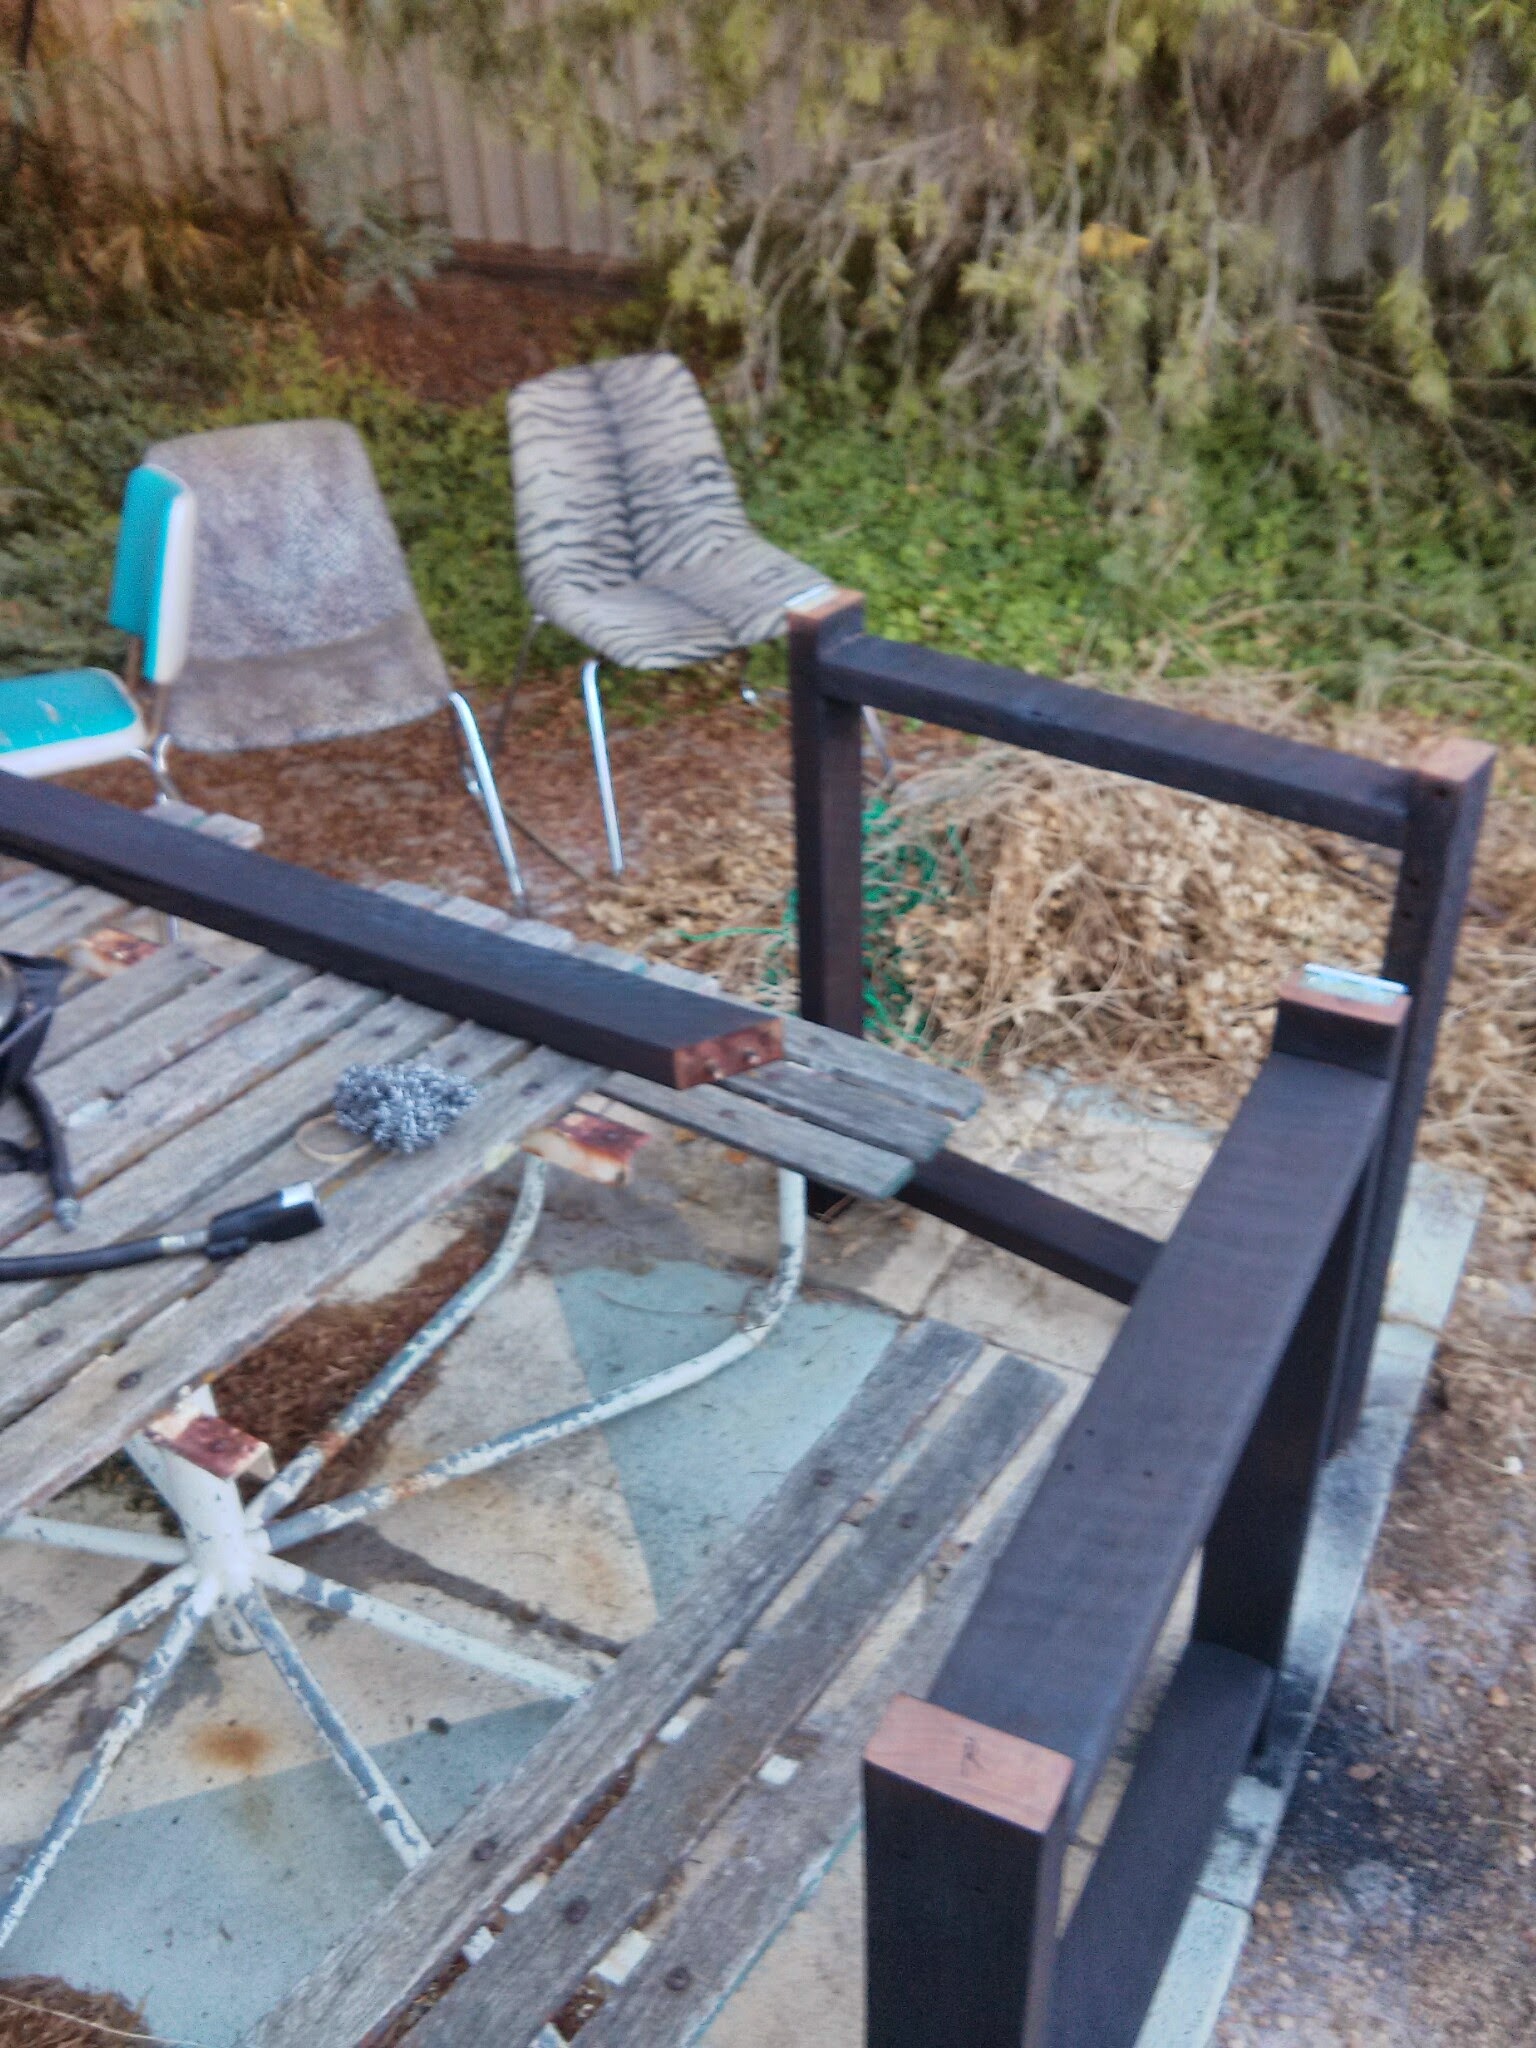
All legs and crossbeams burnt. It looks as if I ave painted them, when in fact they are burnt!
This is the effect the paint stripper had on the tallow wood. Quite small cracks due to how hard the wood is. Pine for example would have larger and deeper cracks.
From there it was a matter of scrubbing down the legs using steel wool and then applying a clear lacquer which was self-levelling. I believe most of them are but check the bottle.
Next I put the legs together, put liquid nails on the support beams and put in the support screws and left it to dry for a day or so.
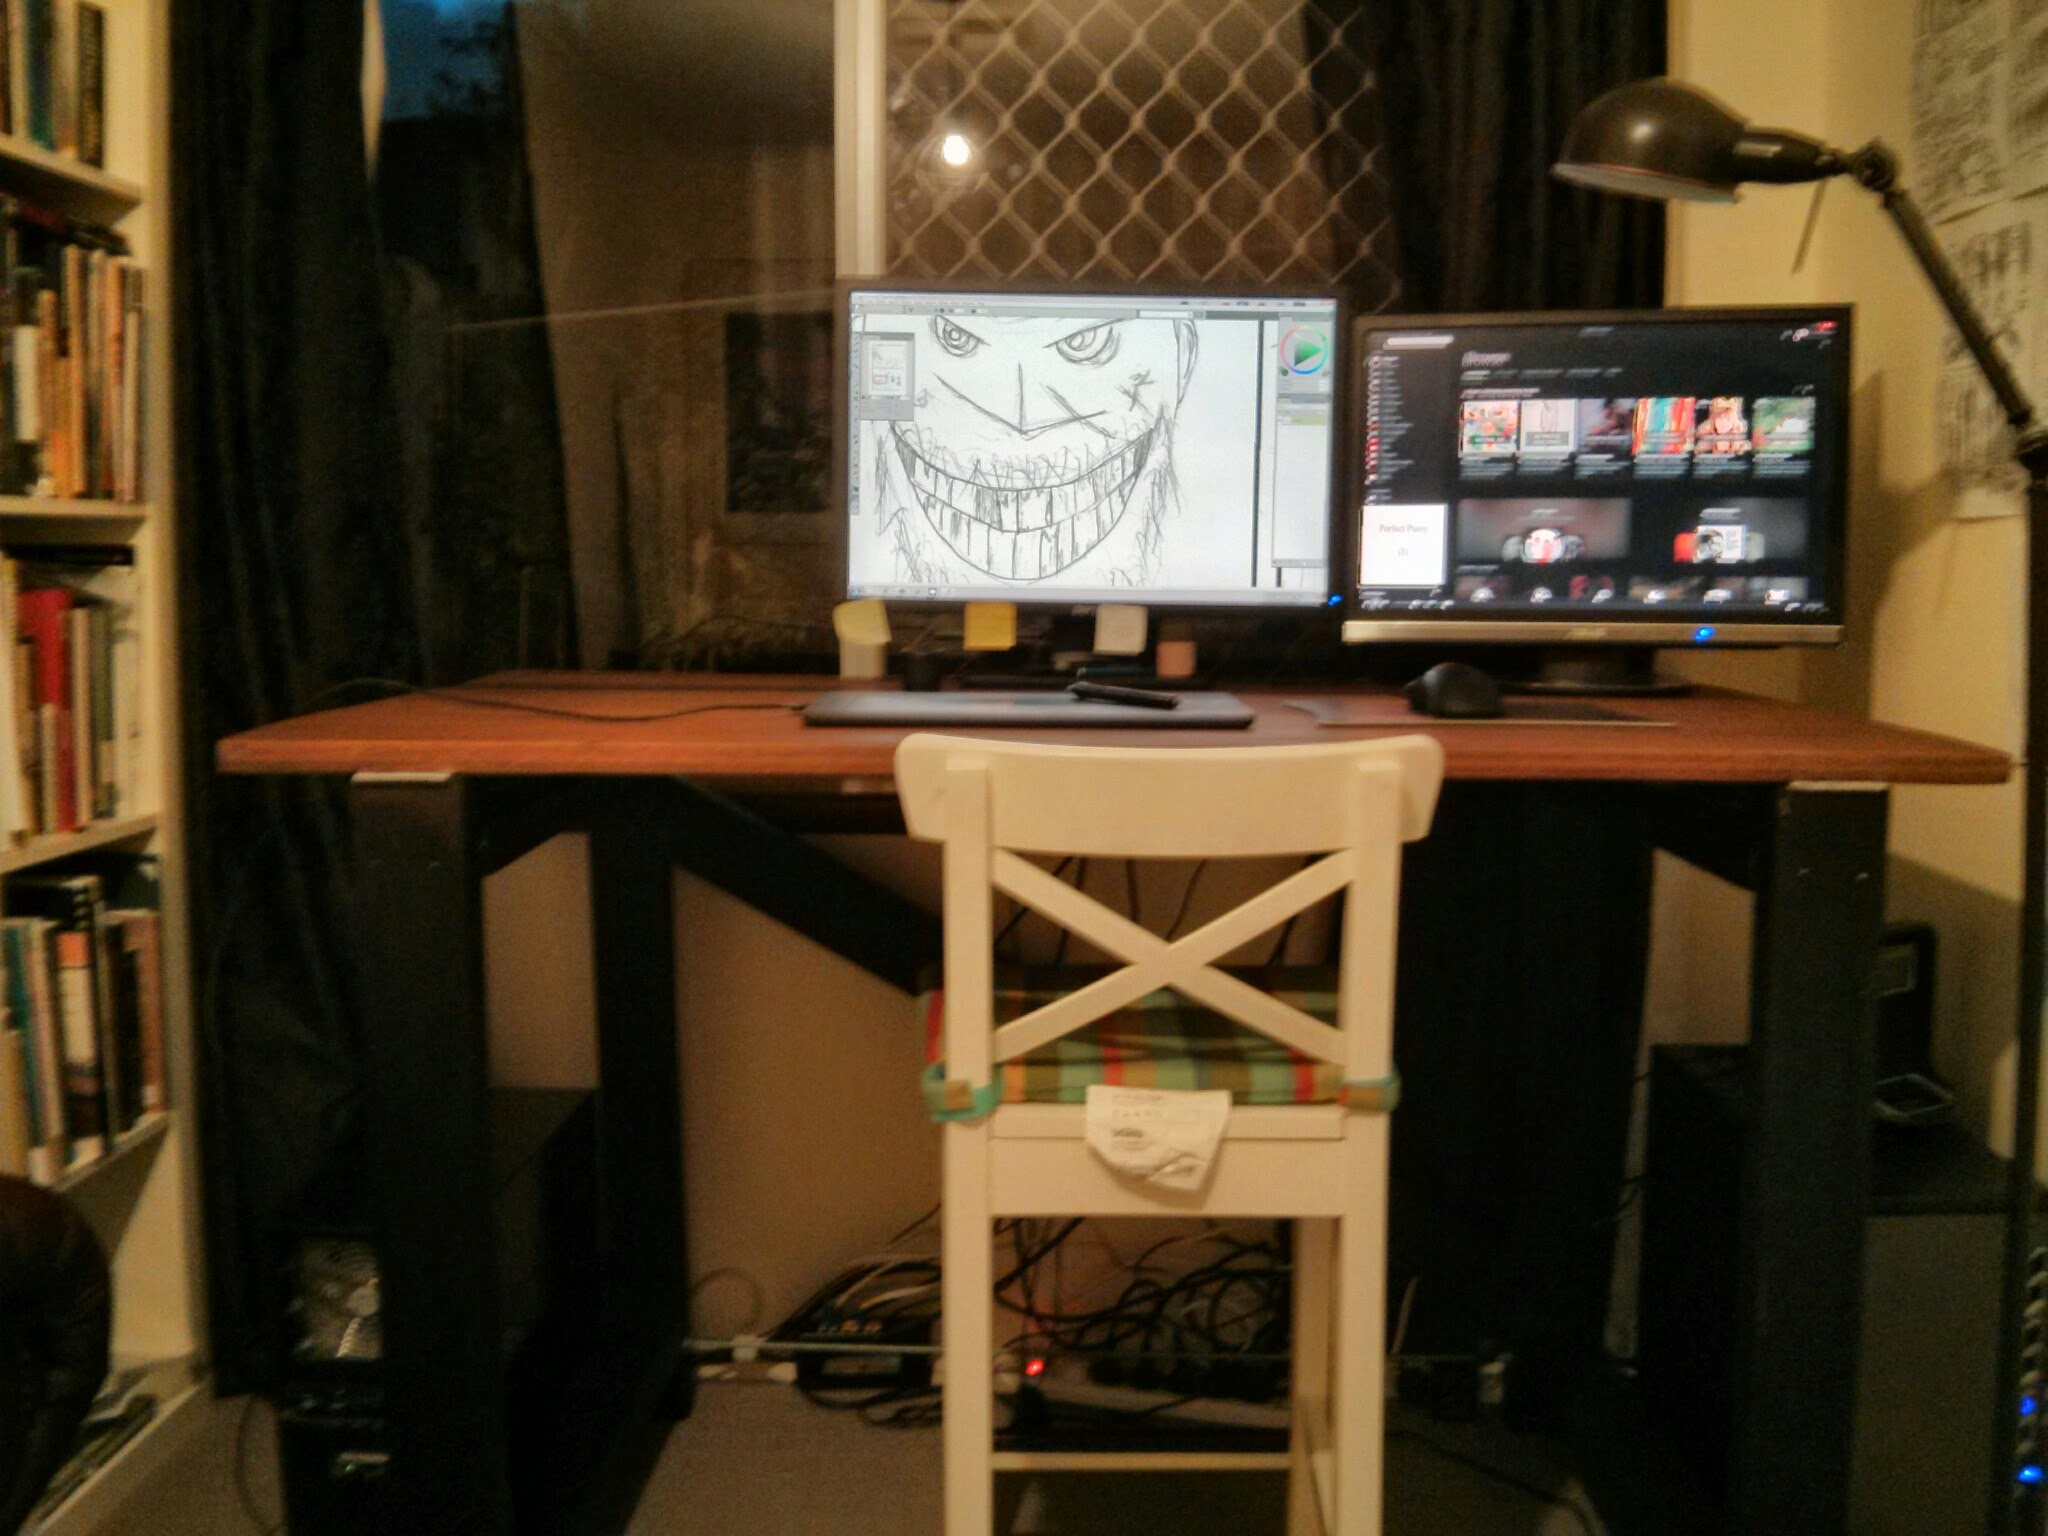
Here is the finished product, with it set upright ready to draw. I'm so happy with the end result and am stoked my old man took the time to make it for me. It will be well loved for many years to come.
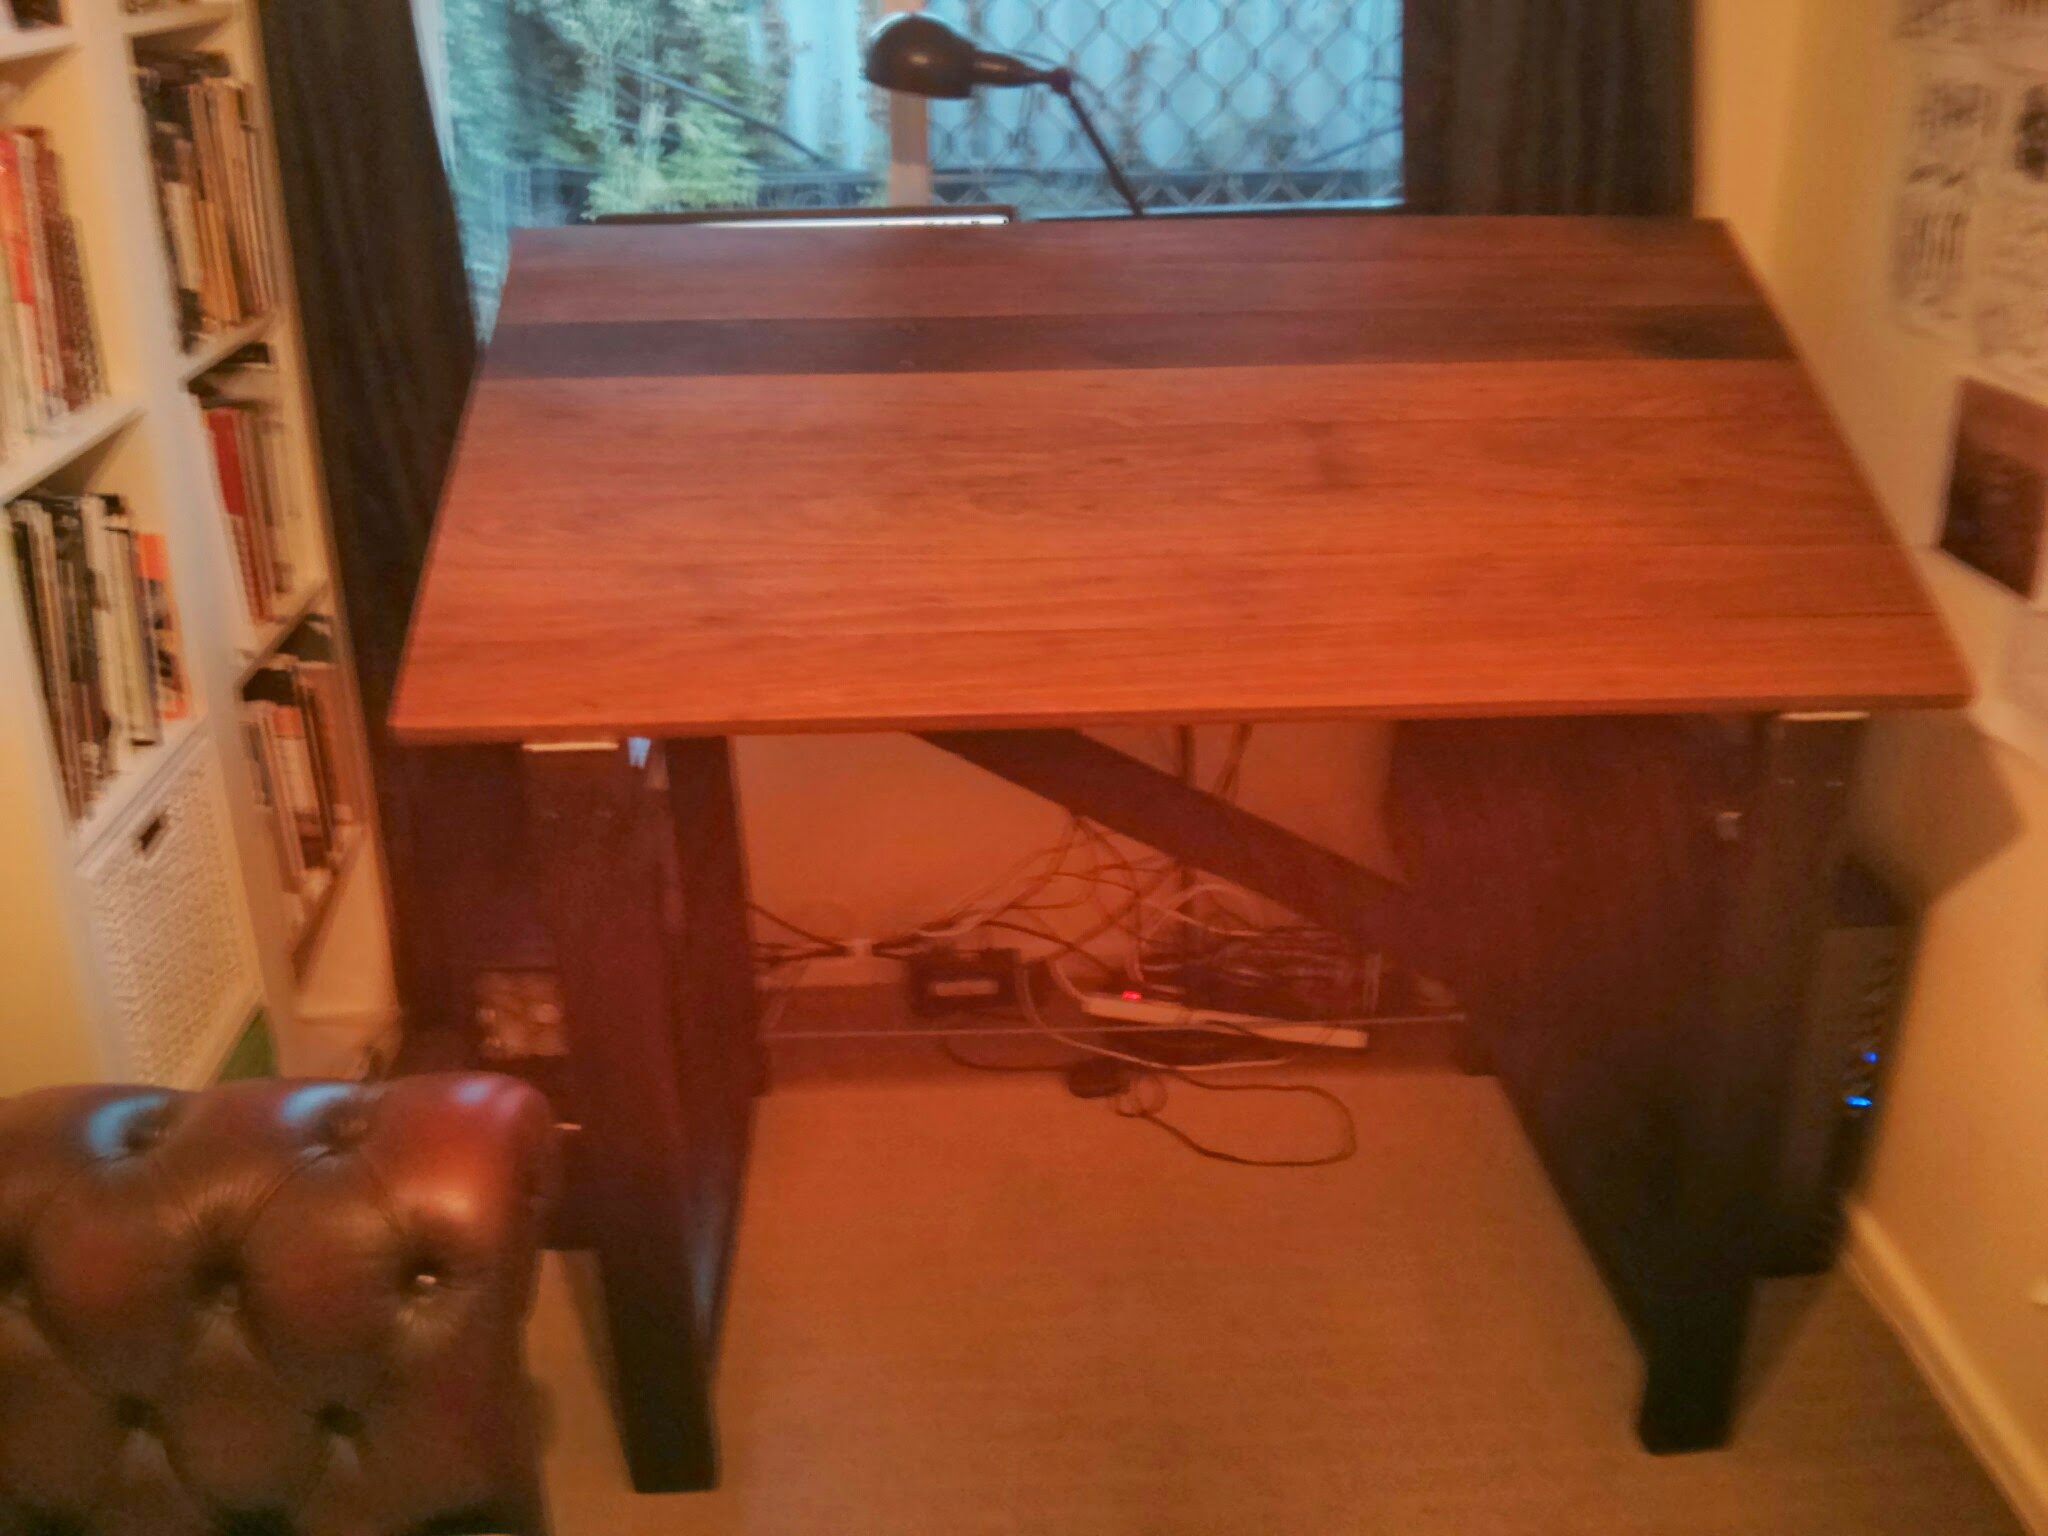
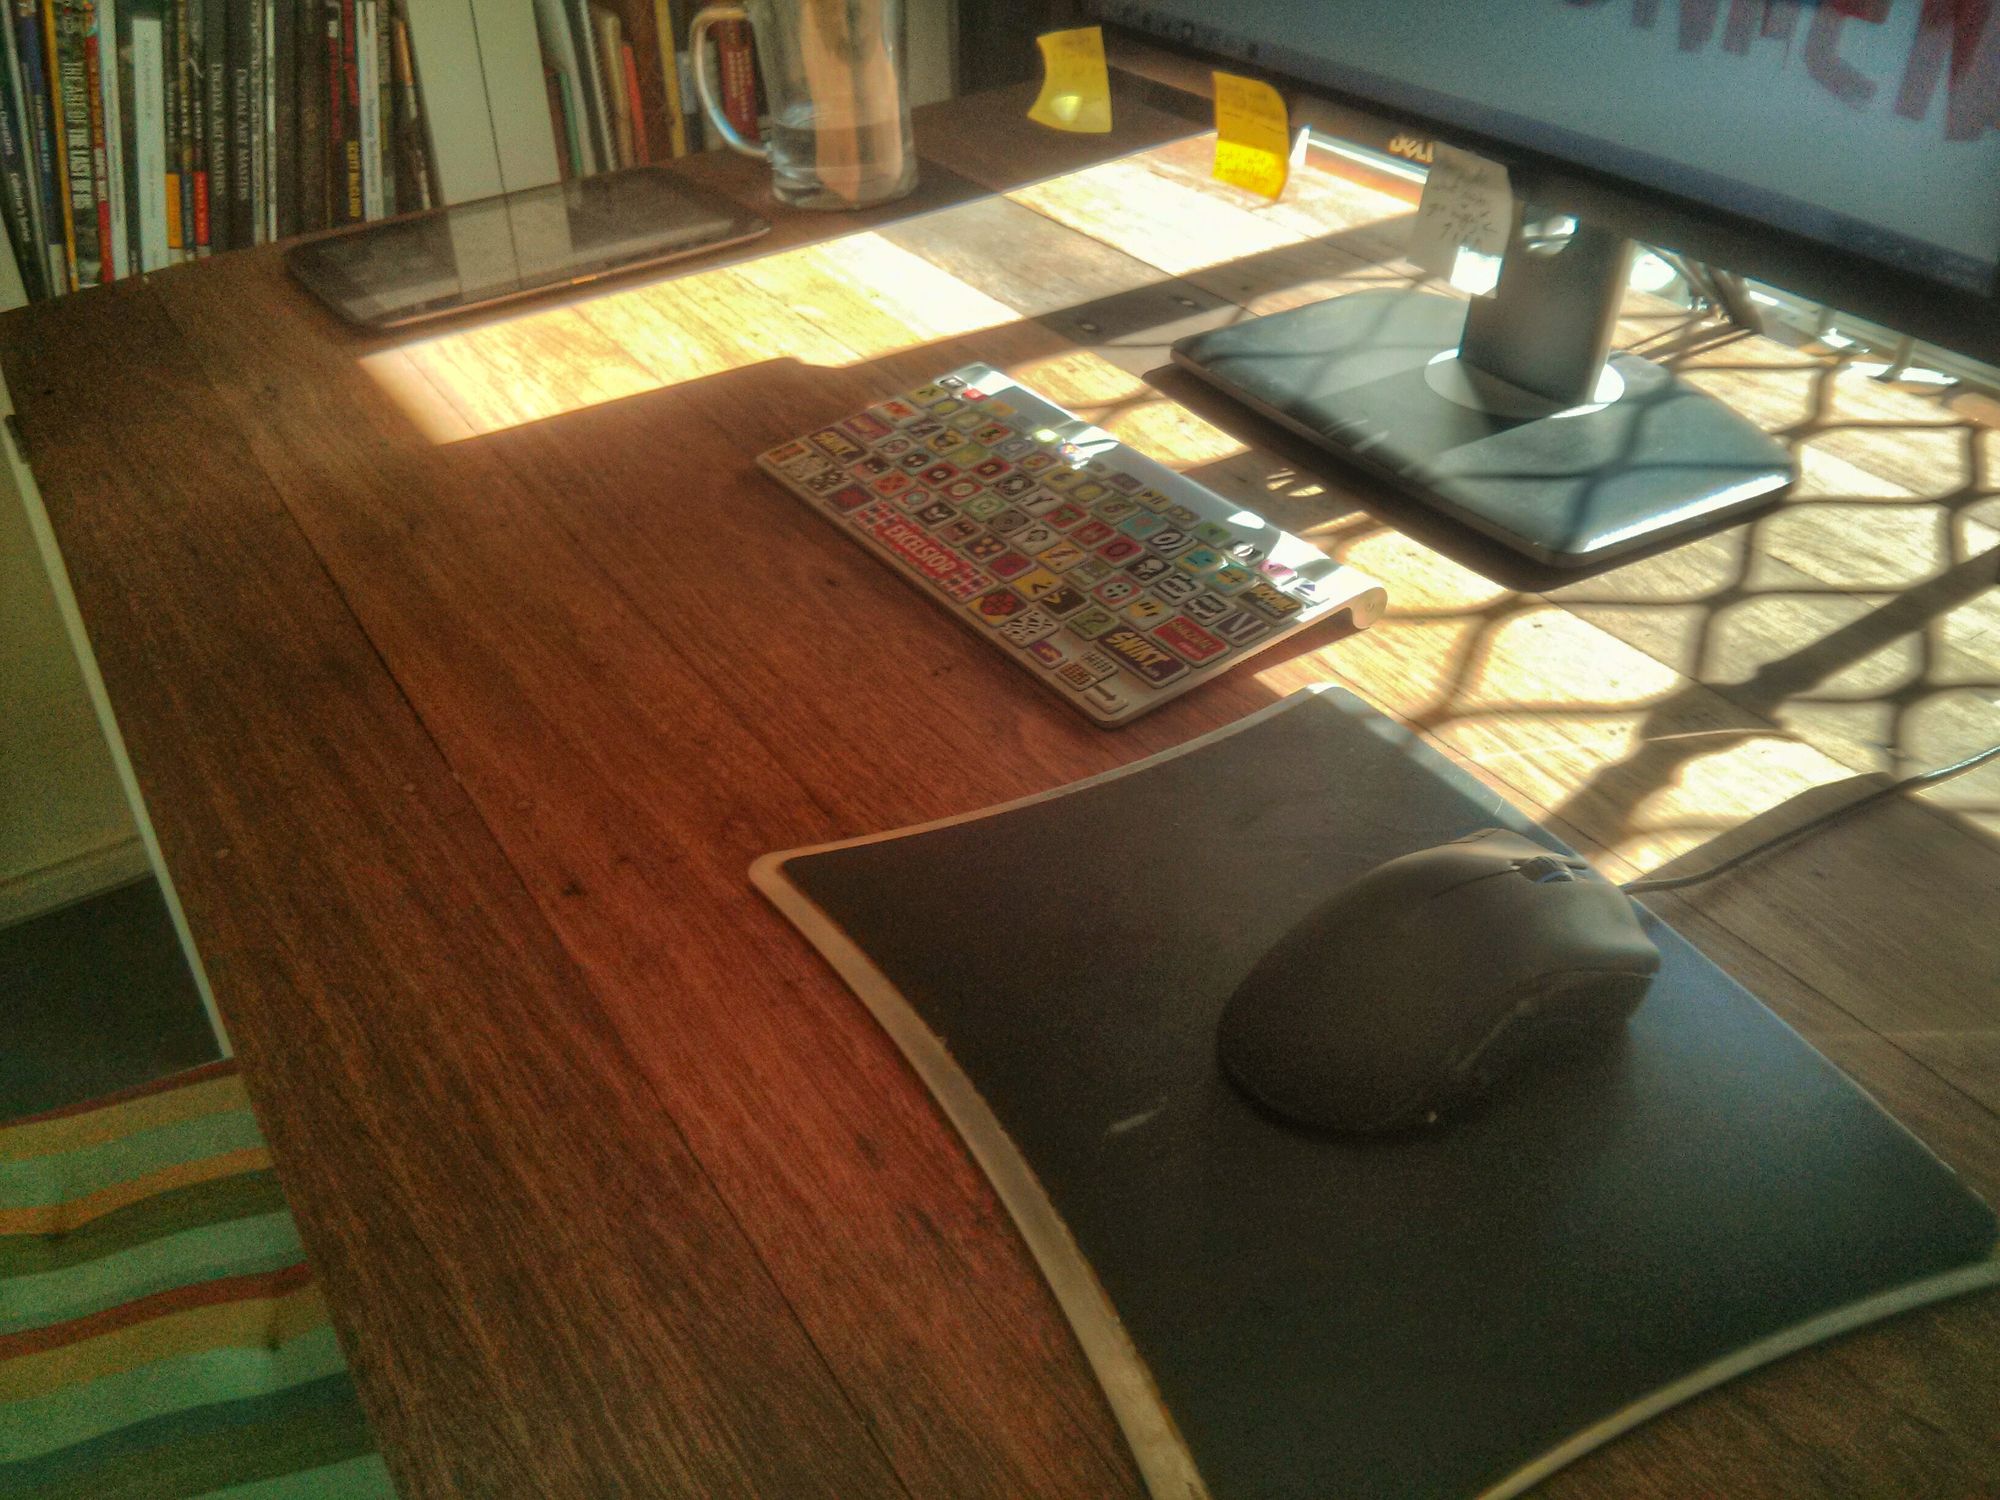
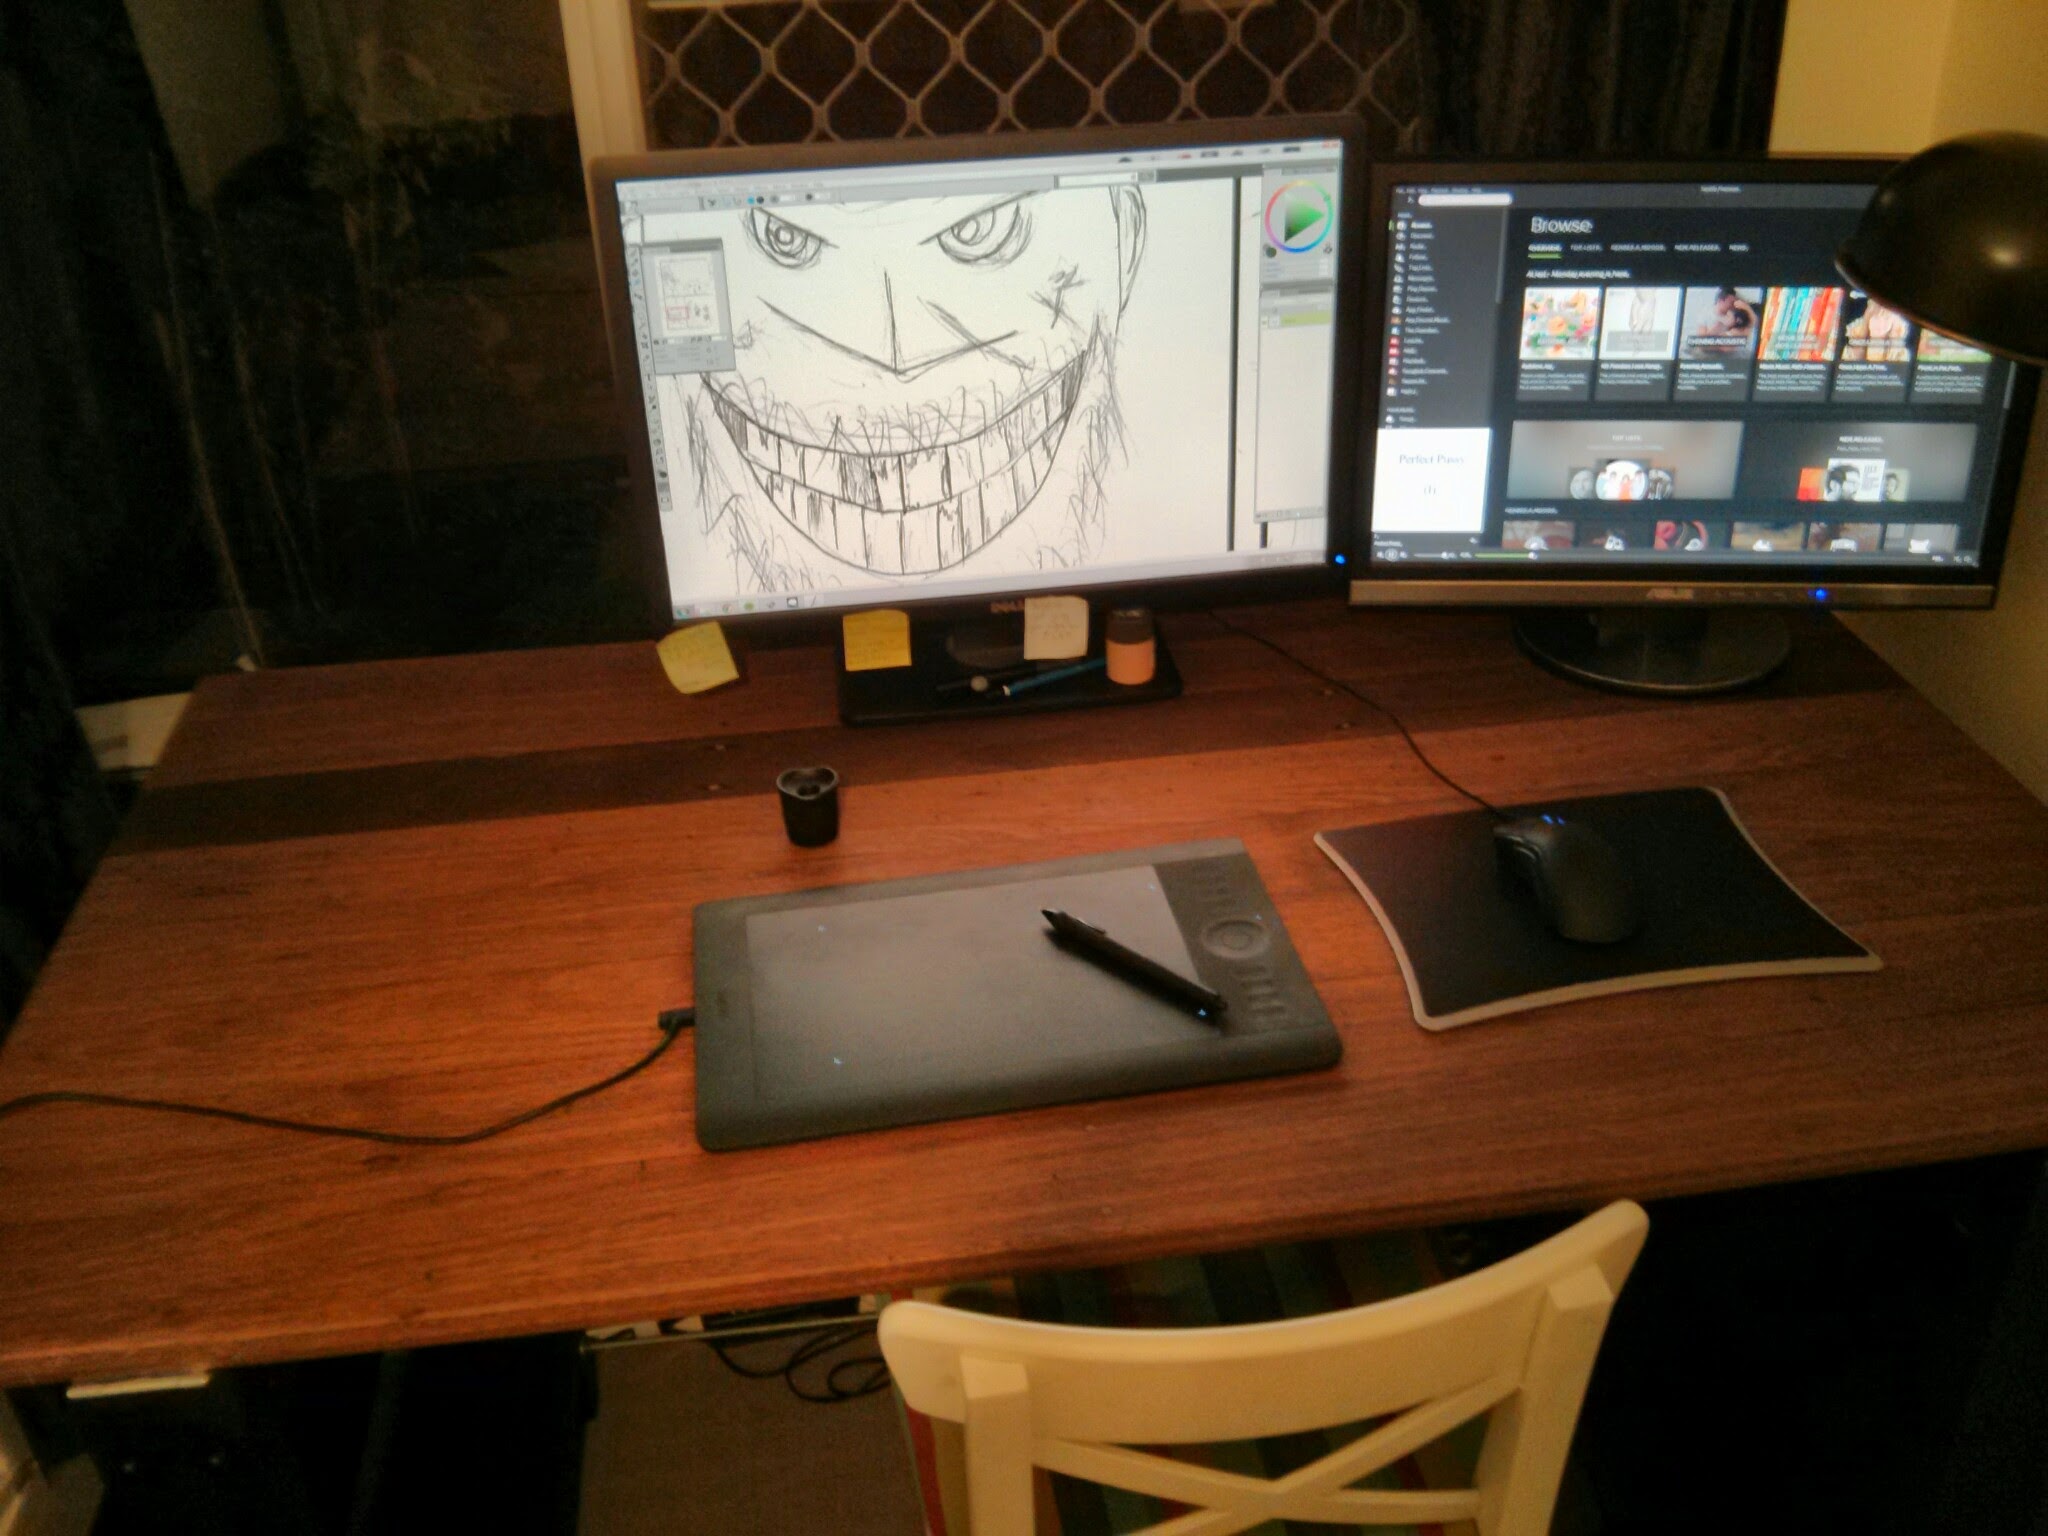
Below is the table flat and computer screens on it. My next project is to put these monitors on stands and bolt the stand to the table, I'll update this post when I've implemented an easy way to be able to tilt the table and use the computer at the same time. The tricky bit is how to stop my drawing pencils and my paper from sliding off the table. Maybe a tiny strip at the bottom of the table that they can rest on? Not sure but if you have any ideas please let me know.
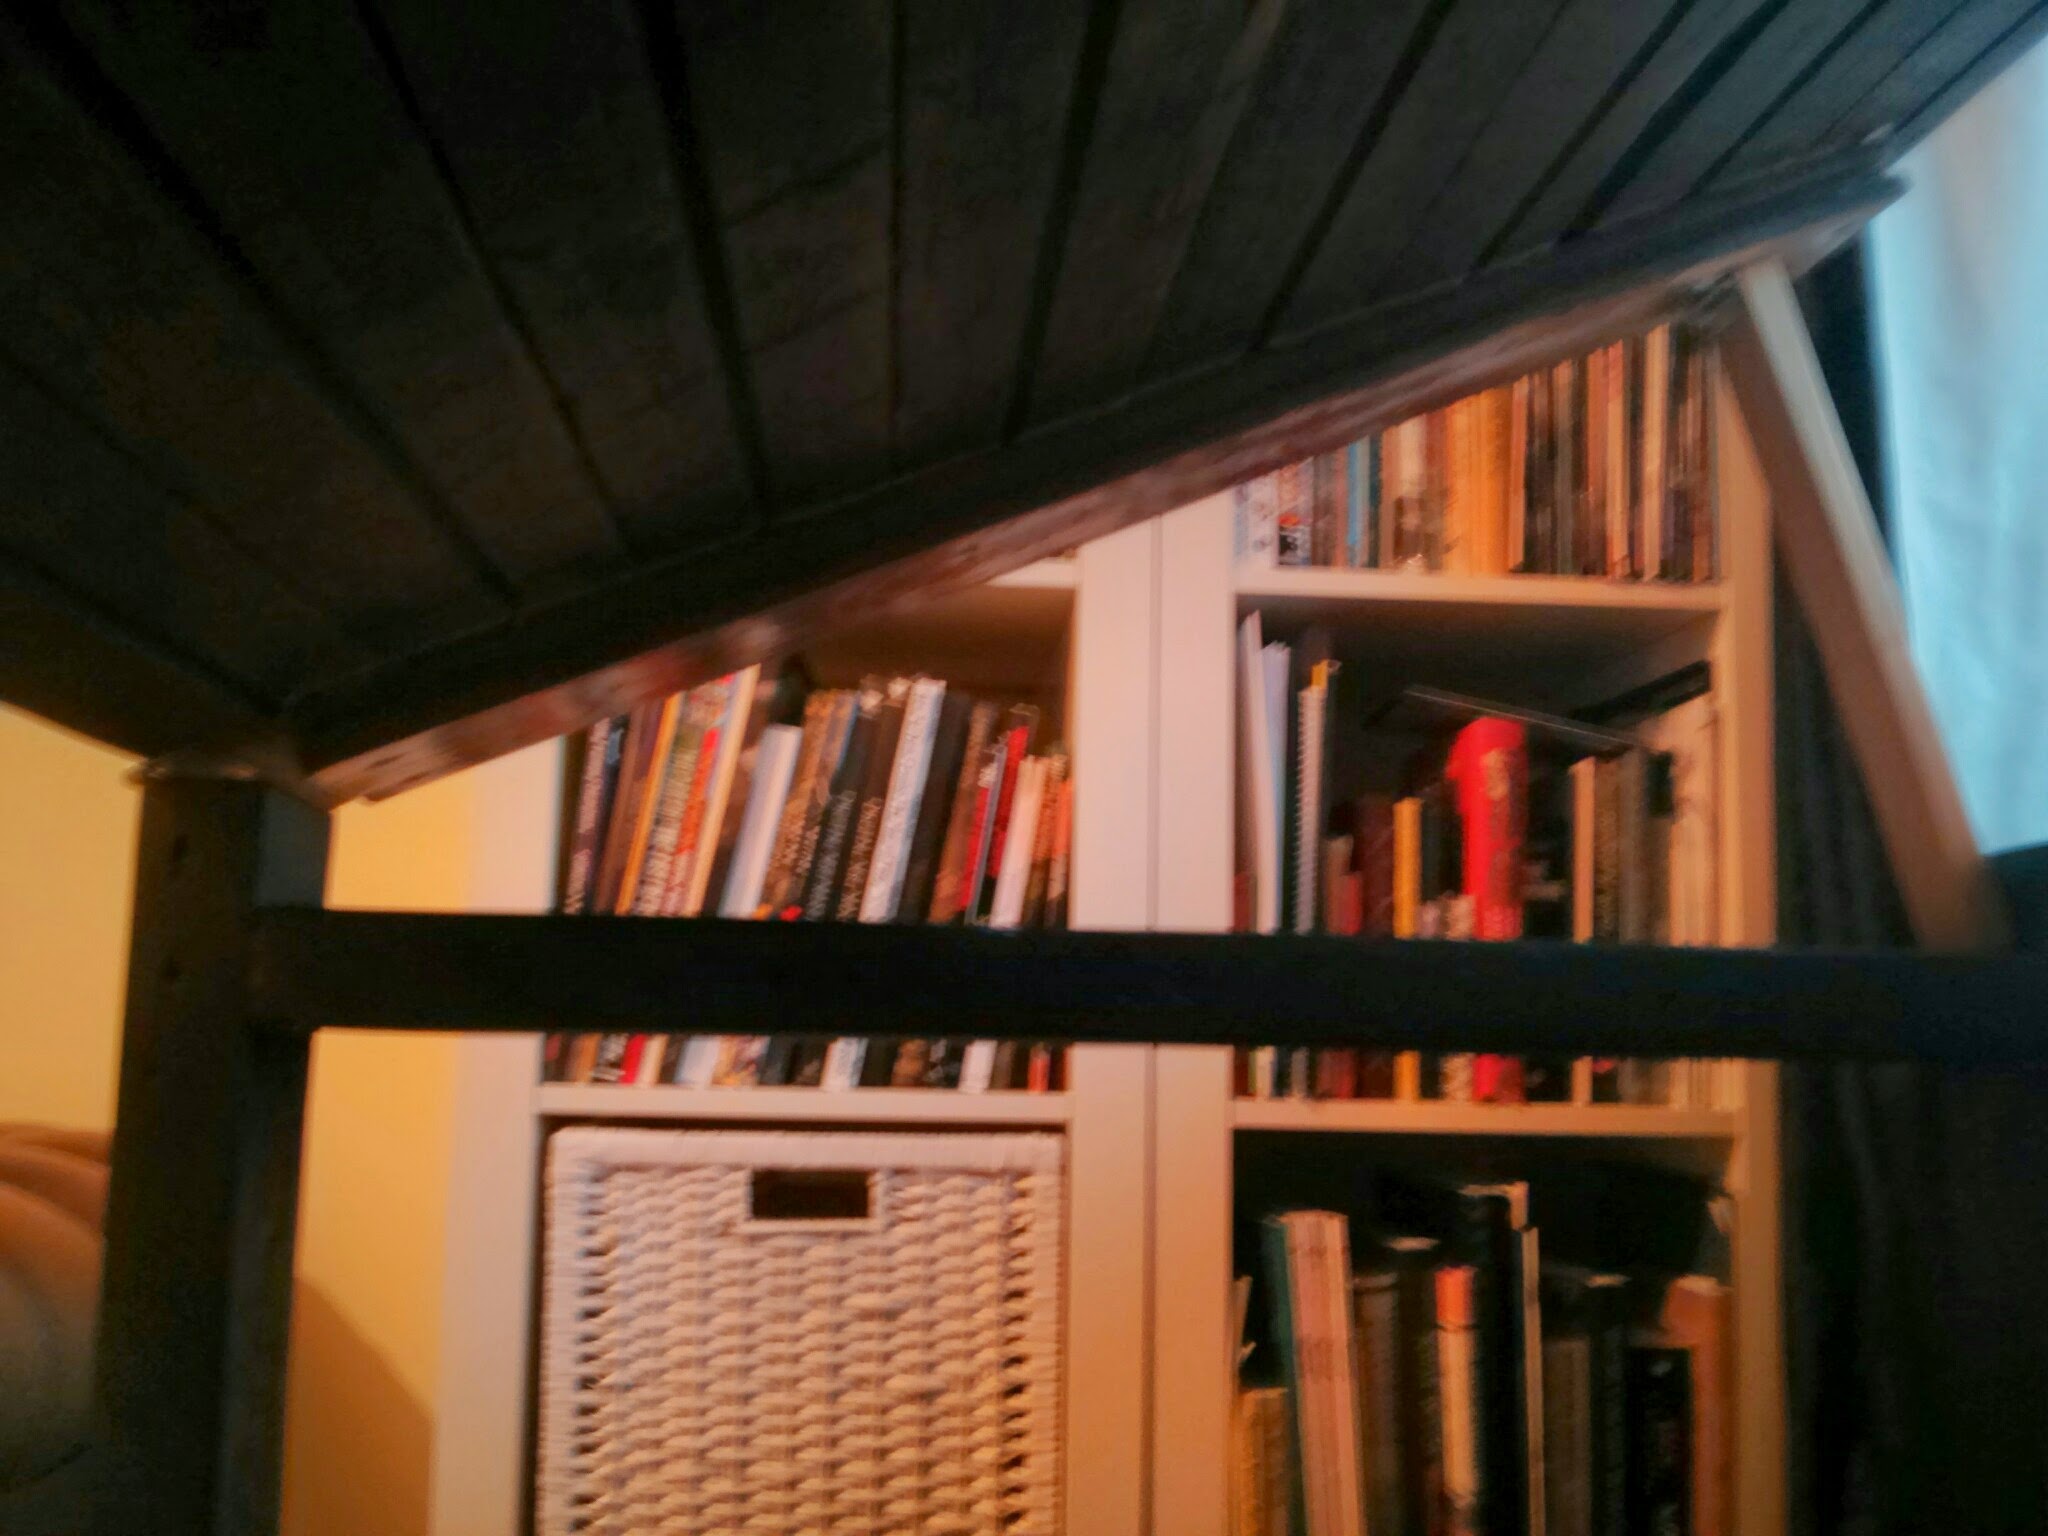
Underneath the table with it in the drawing position.
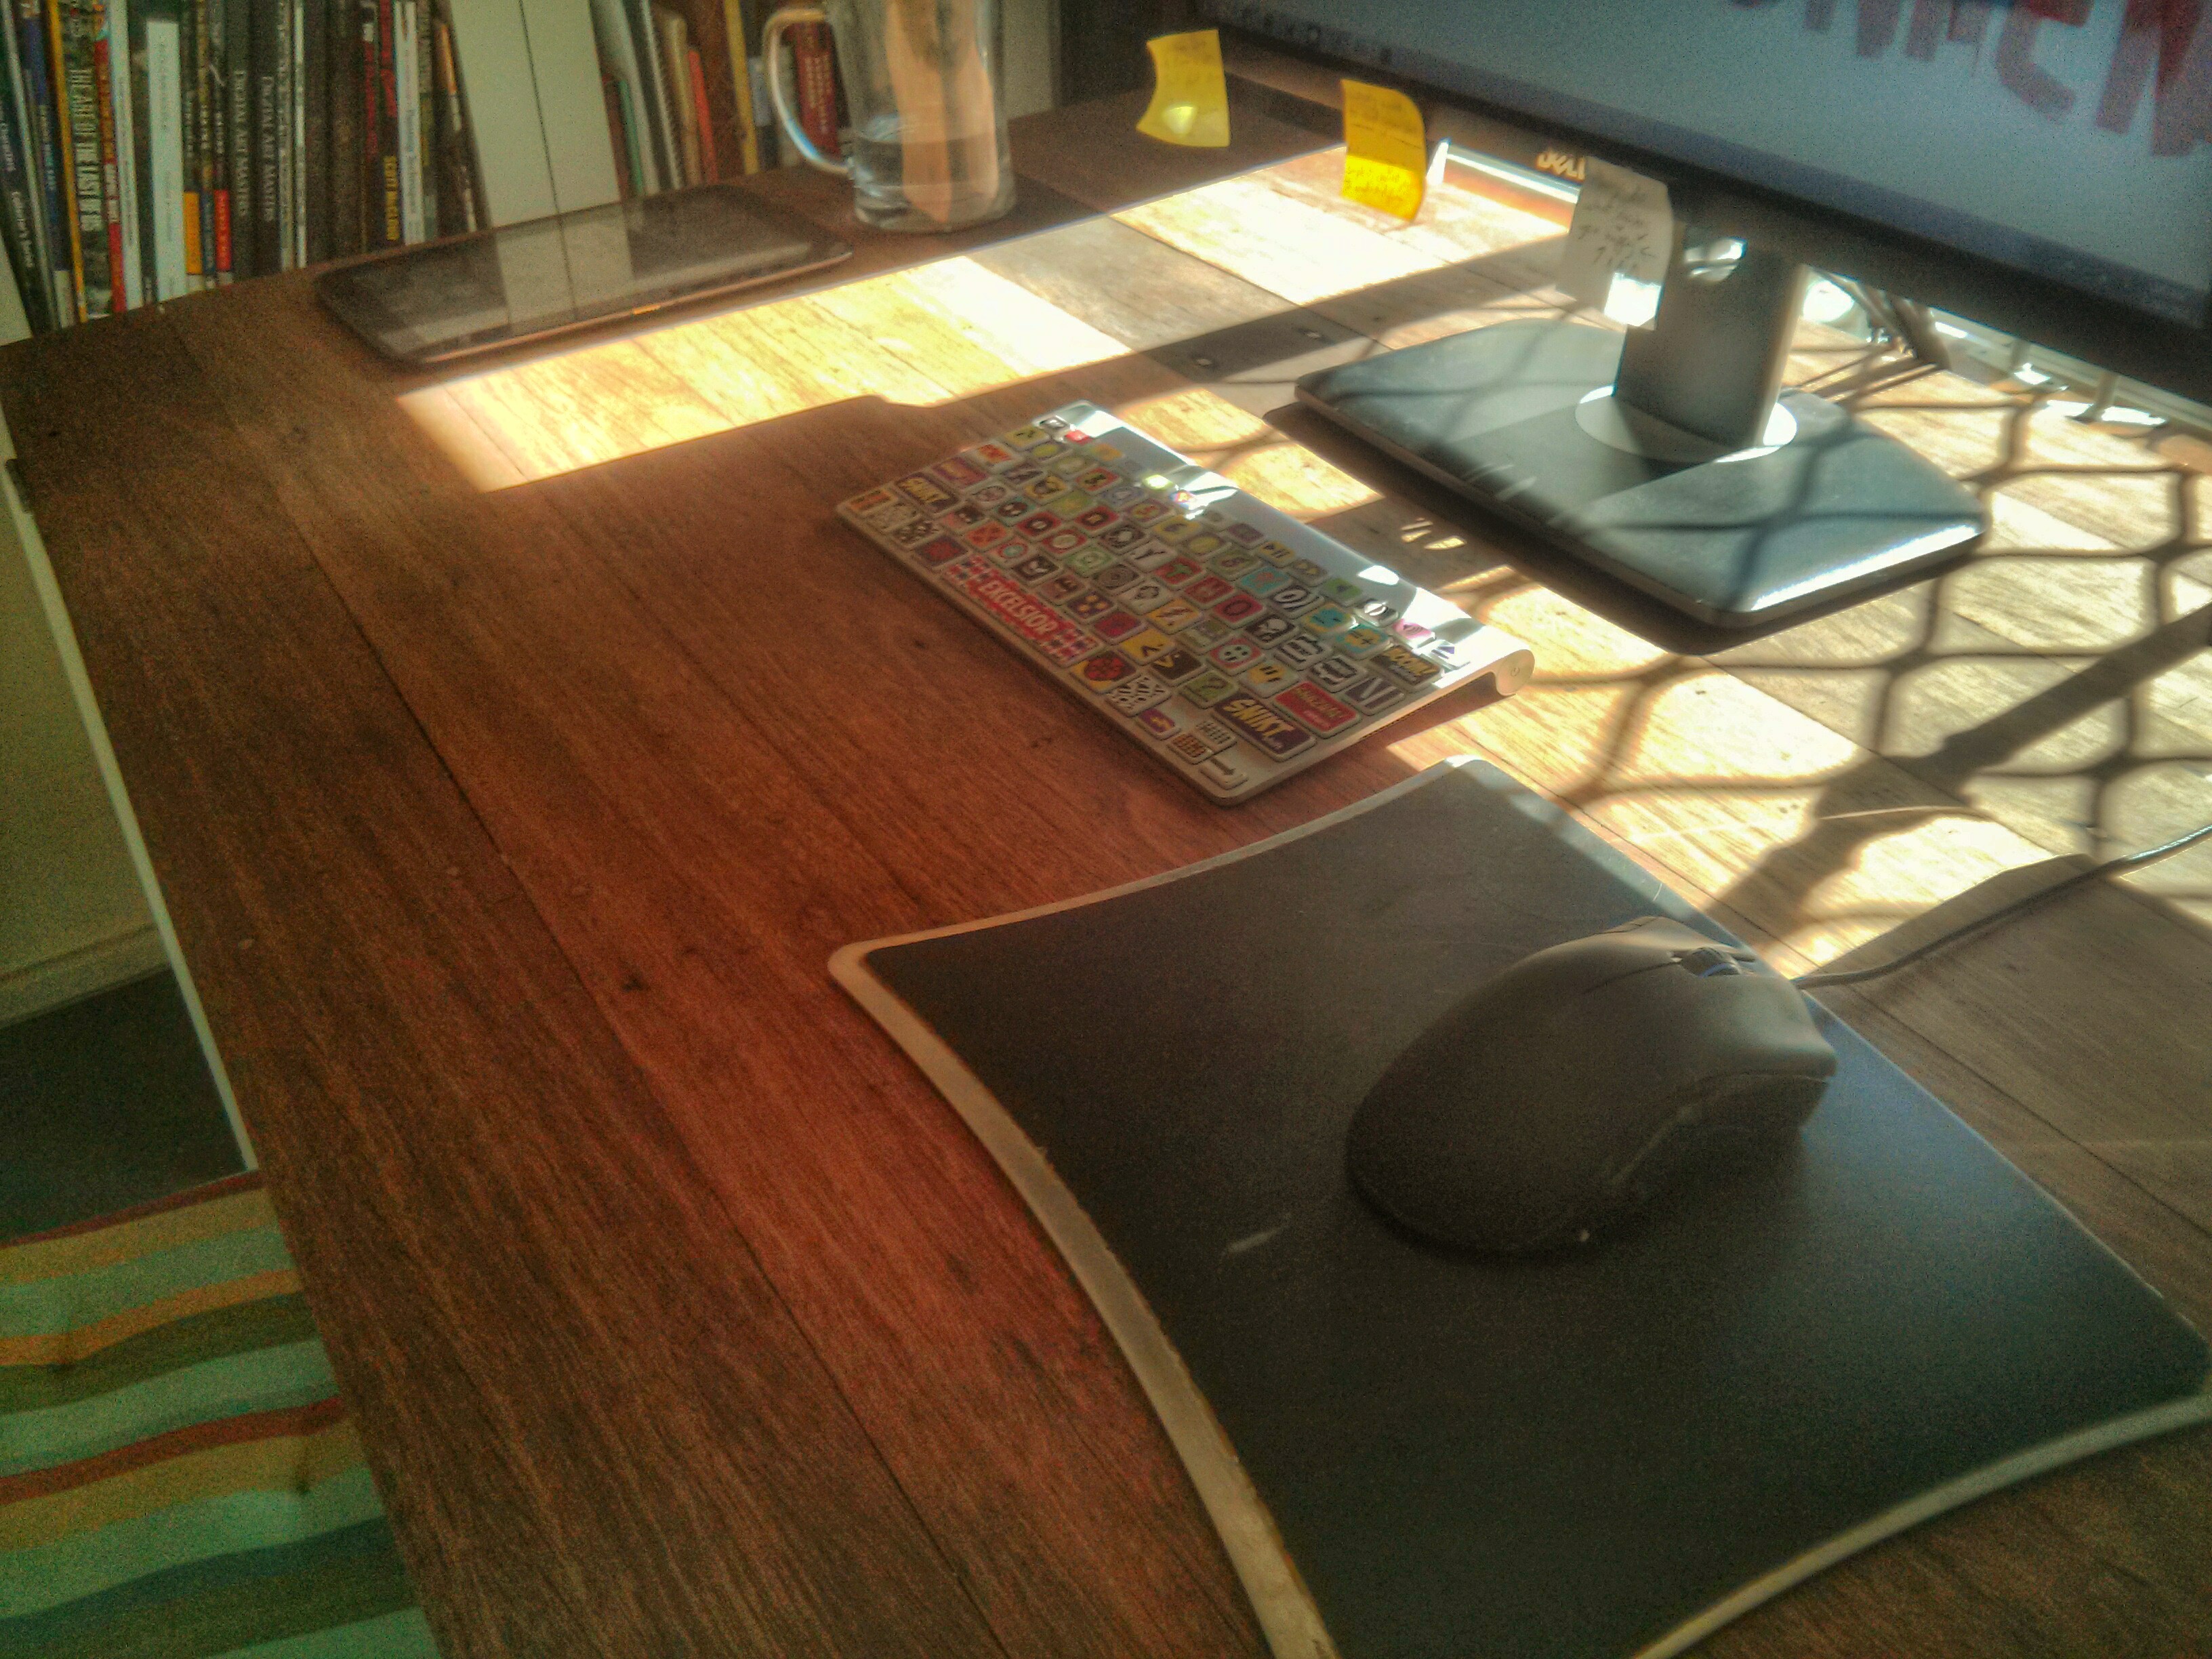
Working on my comic digitally. I'm going to get a Turner stool once i find one I love.
Another angle.
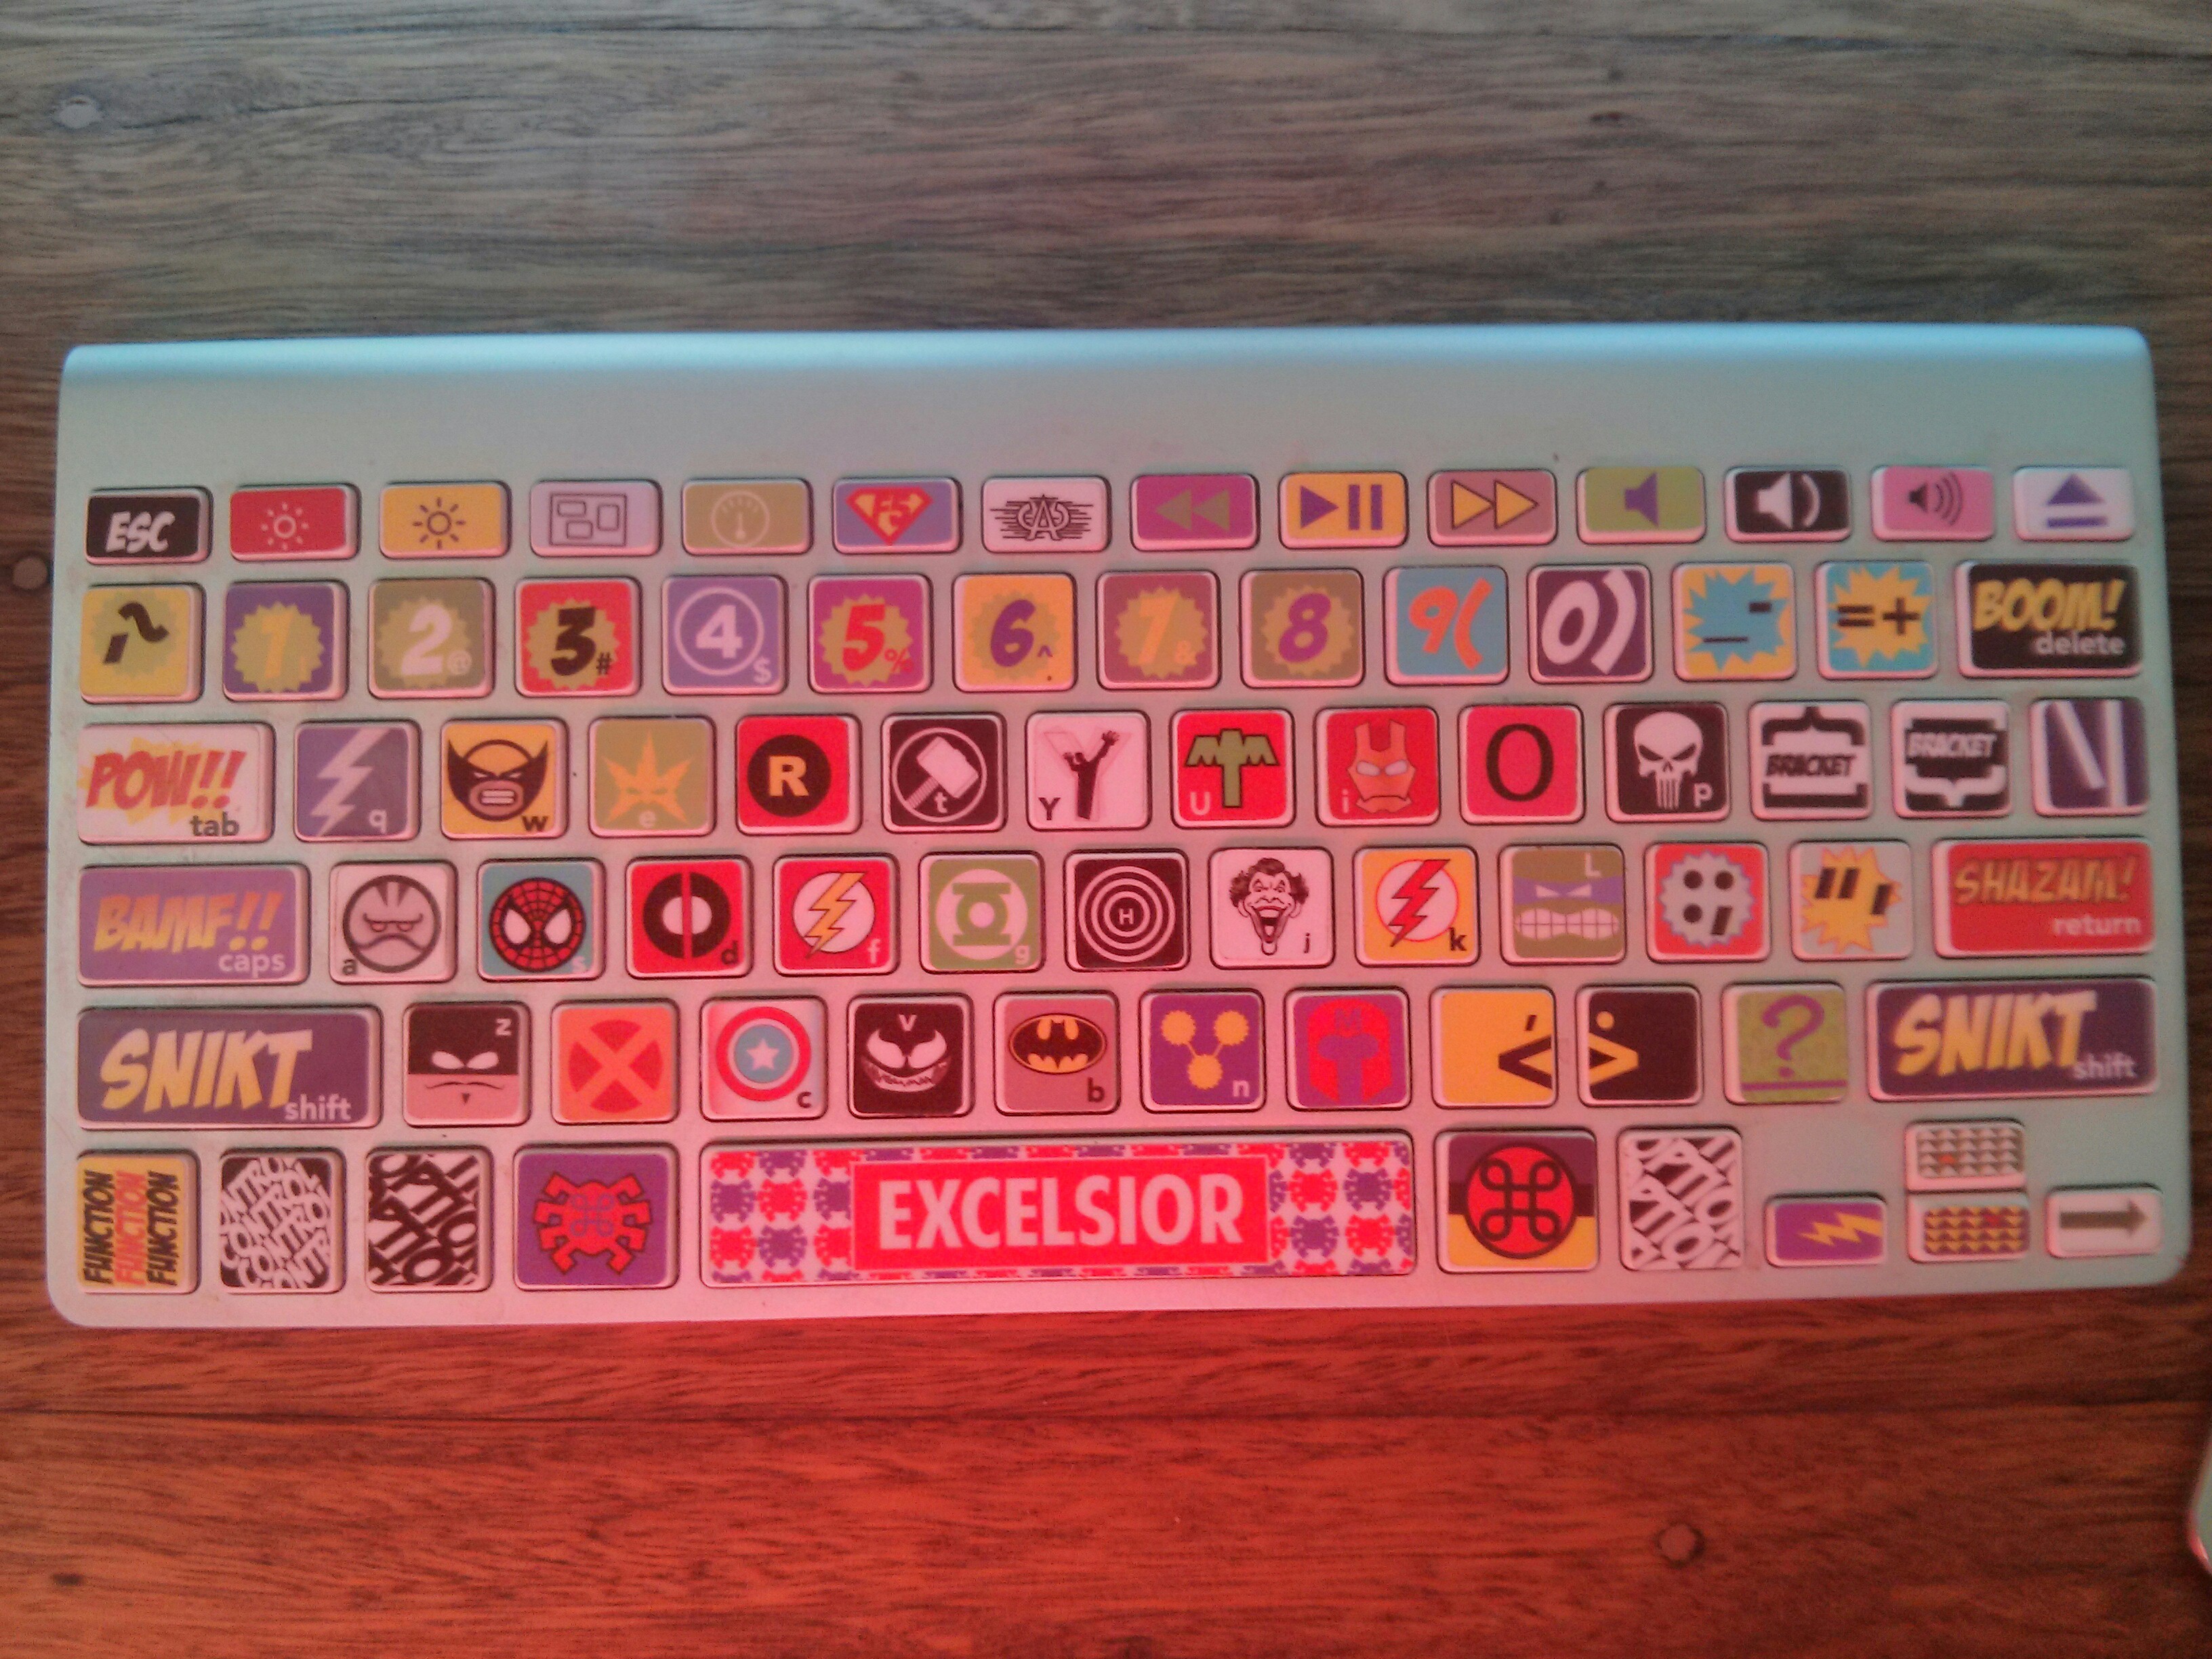
Finally my keyboard with comic book sticker decals. I love it.
Anyway that is enough table porn. Hope this inspired you to create your own table instead of buying one off the shelf. Yes it is a lot more effort but the end results are more than worth it.
Thanks to the old man for all your help and thanks to rissy (and the old man) for your patience.